


Bulgarian yogurt is one of the most popular yogurt varieties in the world! And the good news is that it's easy to make at home for a fraction of the cost of commercial varieties!
15 minutes
180 minutes
2
INGREDIENTS AND EQUIPMENT AVAILABLE AT CULTURES FOR HEALTH
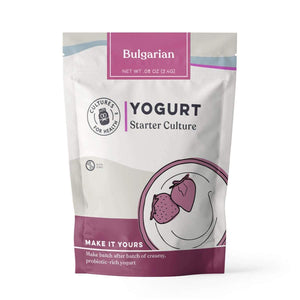
Bulgarian Yogurt Starter Culture
Bulgarian Yogurt Starter Culture
$14.99
Bulgarian yogurt is one of the most popular yogurt varieties - and making it at home gives you control over the ingredients, making it much healthier.
Our Bulgarian starter produces a delicious, rich and creamy homemade yogurt.
The Bulgarian culture is an heirloom culture - meaning you'll make endless delicious Bulgarian yogurt all from one starter!
Digital Thermometer

Digital Thermometer
$19.99
Temperature is extremely important when it comes to baking. Eliminate any guesswork with this instant-read digital thermometer so you can keep track of your dough temperature, ambient temperature!
*Requires 2 AAA batteries, not included
Greek Yogurt Maker (Strainer)
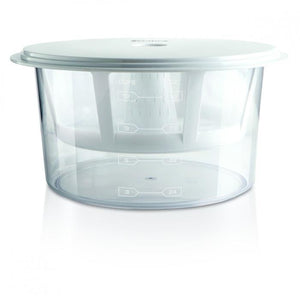
Greek Yogurt Maker (Strainer)
$25.00
This unique strainer kit which is BPA Free transforms up to 2 quarts of ordinary homemade yogurt or store bought yogurt into thick, creamy Greek yogurt in a matter of hours, all inside your refrigerator. Enjoy healthy delish dips and spreads, delicious tazatiki, low-calorie salad topping, or delicious sweet berry desserts!
Butter Muslin
Butter Muslin
$5.99
Butter Muslin is a tightly woven cloth, similar to cheesecloth, used for draining, pressing, and straining soft cheeses, yogurt or milk kefir. Butter muslin cloth also works as a breathable jar cover for all sorts of fermenting applications.
Our how-to video contains step-by-step instructions on how to make Bulgarian yogurt using a Bulgarian Yogurt Starter Culture. With the proper care, you can make batch after batch of Bulgarian yogurt using this starter culture.
Jump to a Section:
- Reminders Before Getting Started
- What You'll Need
- Instructions for Making Bulgarian Yogurt
-
Thickening Bulgarian Yogurt
BEFORE GETTING STARTED
To make Bulgarian yogurt with our freeze-dried Bulgarian Yogurt Starter Culture you will need to first activate the starter culture. You can then use yogurt from the activation batch to culture yogurt on a regular basis.
Instructions for activating the yogurt starter and making yogurt on a regular basis are below. Let's get started!
WHAT YOU'LL NEED
Bulgarian Yogurt Heirloom Starter Culture
The Bulgarian Yogurt Starter Culture is an heirloom-style culture. Unlike direct-set starter cultures, which are single-use cultures (1 packet of starter can make 1 batch of yogurt), an heirloom type culture is re-usable, meaning, that with the proper care, you can use it to make batch after batch of yogurt - indefinitely!

Milk
You can use nearly any type of dairy milk to make Bulgarian yogurt, but for best results, we recommend using whole pasteurized milk.
Avoid ultra-pasteurized or UHT milk when making yogurt. You can learn more about different milks for yogurt making, in our article Choosing Milk for Making Yogurt.
If you'd prefer to use raw milk, please review these Special Considerations for Making Raw Milk Yogurt.
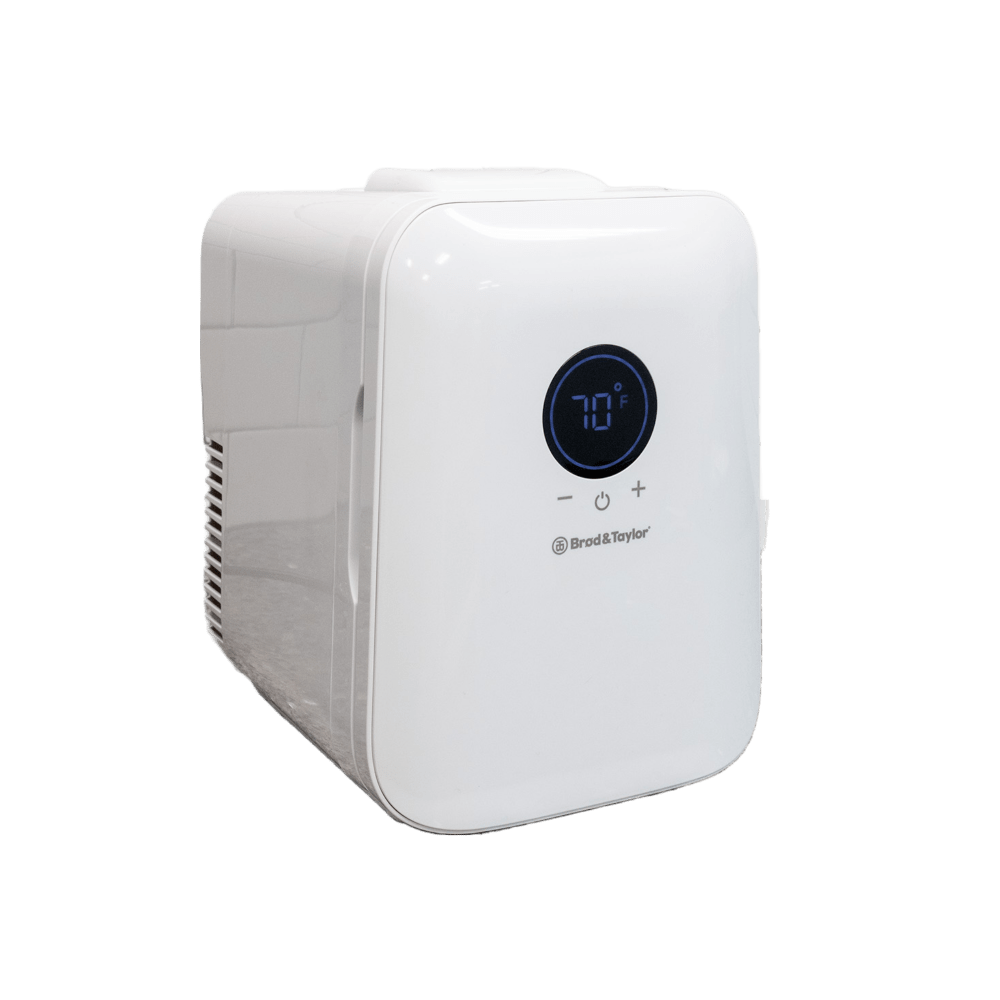
Yogurt Maker or Other Appliance
The Bulgarian Yogurt Starter Culture is a heirloom thermophilic (heat-loving) culture which means it will require a yogurt maker or other appliance to keep the milk warm during culturing.
While there are a number of yogurt makers available, you can also culture yogurt without one. Here are some ideas for other ways to incubate your milk during the culturing process.
Other Supplies
In addition to the above staples, you will also need:
- Stainless steel pot (for heating milk)
- Thermometer
- Non-aluminum mixing utensil
- Yogurt Strainer, cotton bag, or butter muslin to drain whey
Our Basic Supply List for Making Yogurt covers more tools that can be helpful in the yogurt making process.
MAKING BULGARIAN YOGURT
Activate the Bulgarian Yogurt Starter
The first step to making your batch of genuine Bulgarian yogurt at home is activating the starter culture. Occasionally the activation batch may have a very thin consistency, it may even be liquid and that's perfectly fine. The texture and consistency will even out over the next several batches.
-
Slowly heat 1 quart of pasteurized milk to 160°F.

-
Remove the milk from the heat and allow to cool to 110°F.

-
Add 1 packet of starter culture and mix well.
-
Pour milk into containers, cover the mixture, and incubate it at 110°F for 5-12 hours in a yogurt maker or similar appliance.
-
Check after 5 hours to see if it has set. If it has not set, leave it for up to 12 hours, checking every 30-60 minutes. Once it has set, or at the end of 12 hours, turn off the yogurt maker, cover the yogurt and allow it to cool for 2 hours.
-
Refrigerate the yogurt for at least 6 hours. You can eat it at any time (refrigerating helps set the yogurt).

- Don’t forget to save 2-3 Tbsp. for culturing the next batch!
Make Regular Batches of Bulgarian Yogurt
To keep your yogurt starter healthy, you'll want to make a new batch of yogurt at least once a week using the steps below. It is very similar to the activation process, but this time you will be using yogurt from the previous batch as the starter.
-
Slowly heat 1 quart of pasteurized milk to 160°F.
-
Remove the milk from the heat and allow to cool to 110°F.
-
Add 2-3 Tbsp. of yogurt from the previous batch (per quart of milk) and mix well.
For Larger Batches: You can make up to 2 quarts of Bulgarian yogurt per container, but keep your ratios consistent - too much yogurt starter can lead to bitter, grainy yogurt.
-
Pour the milk into the container(s), cover the mixture, and culture for 5-8 hours at 110°F. After 5 hours, check the yogurt frequently by tilting the jar gently. If the yogurt moves away from the side of the jar in one mass instead of running up the side, it is finished culturing.
- Once it has set, allow it to cool for 2 hours.
- After 2 hours, refrigerate it for at least 6 hours before eating.
- Don’t forget to save 2-3 Tbsp. for culturing the next batch!
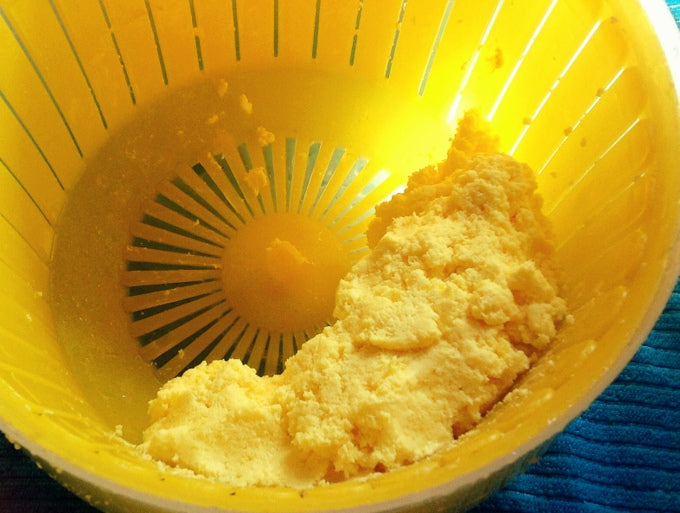
STRAINING THE YOGURT TO THICKEN IT
To achieve the traditional Greek-style yogurt consistency, you'll need to strain the whey from the yogurt. (Check out ideas for using leftover whey here!)
- Pour yogurt into a Yogurt Strainer.
- Cover and refrigerate for few hours.
- Store the yogurt once it has achieved the desired consistency.
You can learn more ways to thicken homemade yogurt in our tutorial on Thickening Homemade Yogurt which outlines different thickener options.
TROUBLESHOOTING HOMEMADE YOGURT
While making your own Bulgarian yogurt only requires a few yogurt supplies and a bit of know how, if it's your first time making yogurt at home, we understand that you might run into some hiccups along the way. Read through our Yogurt Starter Troubleshooting FAQ and feel free to reach out if you still need a helping hand. You can do this!
BENEFITS OF BULGARIAN YOGURT
Yogurt benefits are widely acknowledged as it is an excellent source of essential nutrients and supports the health of your gut. Yogurt, including Bulgarian yogurt, introduces good bacteria into the gut to not only support the natural balance of bacteria, but also aid in digestion. On top of these benefits, making this yogurt yourself is a rewarding experience that is both fun and educational. Because the starter is an heirloom starter, you can also foster new relationships by sharing part of your starter with others and starting a Bulgarian yogurt journey with your friends and family.
WHAT'S NEXT?
Try using your homemade yogurt in our favorite recipes below or try one of these flavoring ideas!