


TEMPERATURE & HOMEMADE YOGURT
If you’ve come to love store-bought yogurt but not the price, it might be time to make your own yogurt at home, and for a fraction of the cost. At Cultures for Health, we carry several varieties of yogurt starter that require heat to culture. These include:
- Greek Yogurt Starter Culture
- Bulgarian Yogurt Starter Culture
- Traditional Flavor Yogurt Starter Culture
- Mild Flavor Yogurt Starter Culture
- Kosher Mild Flavor Yogurt Starter Culture
- Vegan Yogurt Starter Culture
If you choose a yogurt starter that requires heat to culture (such as store-bought yogurt or a thermophilic starter culture above) you may also decide to purchase a yogurt maker to incubate the milk and starter. However, there are many ways to culture yogurt without a yogurt maker.
SEE ALSO: Maintaining Temperatures when Culturing Countertop (Mesophilic) Yogurt
TEST THE TEMPERATURE
For best results using one of the alternative methods below, it is helpful to test the temperature of the method you choose to use before making yogurt.
You want to make sure that the container you are using is holding the correct temperature range for the length of time needed to culture your yogurt.
To do this, pour 110ºF water into a container and take temperature readings every 30 minutes to 1 hour. If the temperature does not fluctuate, you are ready to go. If you see dramatic changes in temperature, adjust your container as needed or try another method.
10 YOGURT CULTURING ALTERNATIVES
The following is a list of yogurt culturing alternatives, intended to give you ideas for how to culture yogurt without a yogurt maker.
1. Food Dehydrator
A box-style food dehydrator, with shelves removed and its door open/closed, works well to maintain the required temperature.
Once you've heated the milk and added the yogurt starter, pour it into jars or a culturing container and place into the food dehydrator to culture.
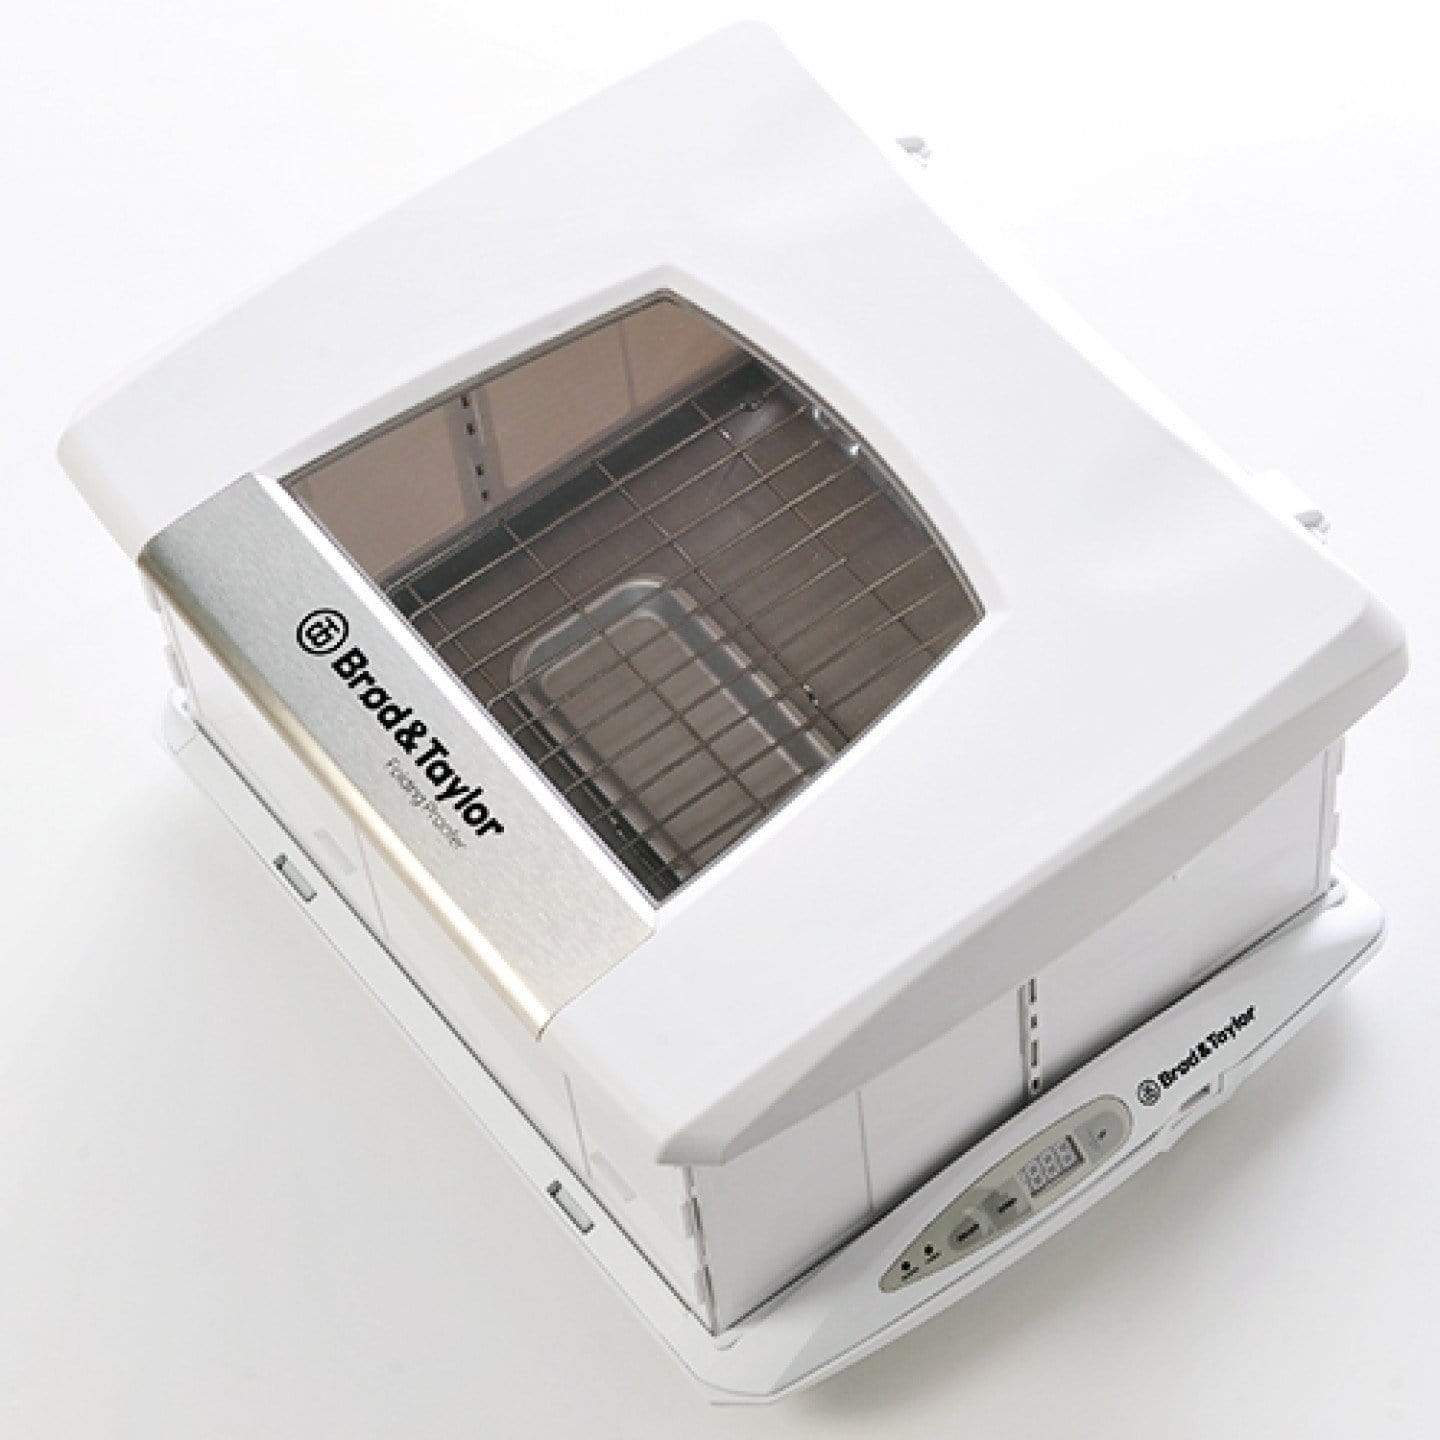
2. Folding Proofer
The Folding Proofer can be set to the temperature required for culturing yogurt. To use this, simply arrange your jars of milk and starter in the proofer.
- If you don't plan to fill the proofer completely with jars, keep the jars close to the edges of the proofer.
- If you fill your proofer completely with jars, plan to rotate your jars a few times while they are culturing to produce more even results.
3. Oven
The pilot light in a gas oven may add enough warmth to culture yogurt that requires heat.
In an electric oven, a candle or the oven light may keep the environment warm enough to culture thermophilic yogurt.
Before trying this method, be sure to test the oven temperature with a jar of water and thermometer.
Setting your yogurt jars on a baking pan will help give them stability on the oven racks.
Last but not least, don't forget to leave a note on the oven - you wouldn't want your yogurt to get cooked if someone preheats the oven for cooking!
4. Thermos
An insulated container such as a beverage thermos or the YogoTherm maintains temperature without electricity.
A glass or stainless steel thermos works well for this method. You'll want to avoid using soft plastic, which can scratch easily and allow unwanted bacteria to linger, as well as avoid using abrasive cleaners on the thermos.
Ambient temperature can have an effect on the culturing process; in cold weather, wrap thermos or Yogotherm with a warmed towel for added insulation.
5. Crockpot
Crockpots are a kitchen wonder for cooking and they can be super helpful when making yogurt at home too! Using a crockpot to make yogurt allows the preparation and culturing of milk to take place in one vessel. (Greek and Bulgarian starters should not be activated using the crockpot method). Check out the crockpot method to learn how!
6. Insulated Cooler and Water
Place yogurt jars in an insulated cooler, pouring 105º-115ºF water inside, about ¾ of the way up the jars. Close lid tightly, covering the cooler in a blanket or towel. Change out water if temperature drops below 105ºF.
7. Insulated Cooler and Heating Pad
Place yogurt jars in an insulated cooler with a heating pad set to low atop the jars. Close the cooler lid and let the cord hang out. You can also wrap cooler with a blanket or towel for added insulation.
8. Insulated Cooler in the Sun
You can take advantage of the heat during the hot summer months by culturing outside. (Think of the counter space you'll be freeing up too!) Simply set your yogurt jars in a closed cooler and then set it in the sun.
9. Hot Water Bath
Set the covered yogurt jar in a large bowl, filling the bowl with heated water. The water level should be no more than one to two inches from the top of the jar.
As the water cools, remove the jar gently, pour the water out, then replace the jar, and add new heated water.
10. Counter Top Yogurt Starters
If none of the above methods works for you, try one of our counter top yogurt starters, which culture at 70-77°F. Our counter top yogurt starter cultures include: Viili, Filmjolk, Piima, and Matsoni.


