


Sourdough is a living thing, reacting to changes in its environment and sometimes you're going to need to troubleshoot sourdough. Usually, minor adjustments to feeding frequency or temperature will keep a sourdough starter healthy and active. However, there are a few situations that might require some extra care.
Click here to download the Sourdough Guide and Recipe book today, which will show you everything about troubleshooting your sourdough starter and baking delicious bread with easy-to-follow instructions and troubleshooting tips in no time!
TROUBLESHOOTING A SLUGGISH STARTER
A healthy sourdough starter should be bubbly and active. The organisms in the sourdough culture are feeding off the flour and creating gases (bubbles). After feeding, bubbling action should be visible within 4 to 12 hours.
If a sourdough starter is not bubbly, it may require more frequent feedings. If feeding every 12 hours, increase to feeding every 8-10 hours, to make sure the culture is getting enough food.
Check the temperature in the culturing area. Sourdough likes a temperature between 70°F and 85ºF, around the clock. To make adjustments in cold or warm weather, try the tips in these articles:
REVIVING A HIBERNATING STARTER
A sourdough starter that has gone into hibernation or does not appear to have much life, may be able to be revived. A culture may look lifeless, but on the microscopic level there may be life, so the starter can be recovered with a little extra TLC.


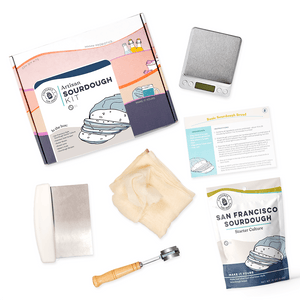
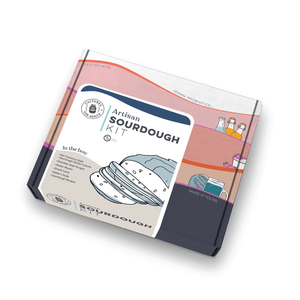


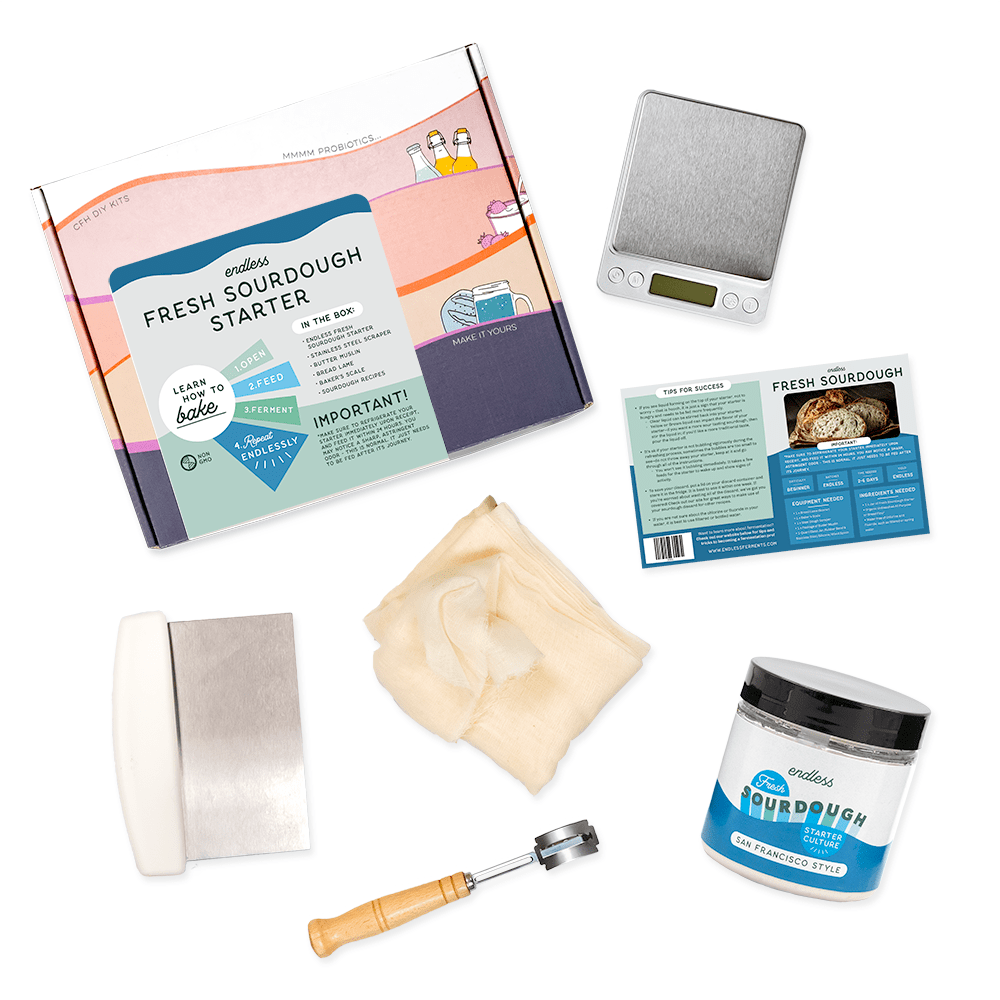
Artisan Sourdough Bread Kit
To jump start a starter that looks lifeless:
- Bring a few tablespoons of the hibernating starter to room temperature.
- Feed the starter using 1 part starter to 8 parts flour to 5 parts water.
- For example, if you have 2 tablespoons of starter, use 16 tablespoons of flour (1 cup) and 10 tablespoons (½ cup plus 2 tablespoons) of water.
- Repeat feeding using the above amounts twice a day, at 12-hour intervals, and start each feeding by discarding half of the starter.
- Once the starter is bubbly and active for several feedings, resume a normal feeding schedule.
REHABILITATING A STARTER WITH AN
ALCOHOL OR NAIL POLISH AROMA
When a sourdough starter isn't fed often enough or feedings are skipped, it will begin consuming discarded yeast, as well as its own waste, leading to the unpleasant aroma of alcohol or nail polish remover. The best way to prevent this from happening is to feed the sourdough starter more often.
If increased feedings do not solve the problem, remove 2 tablespoons of starter and feed with ¼ cup water and a ¼-½ cup of flour. When it is time to feed the starter again, resume normal feeding amounts.
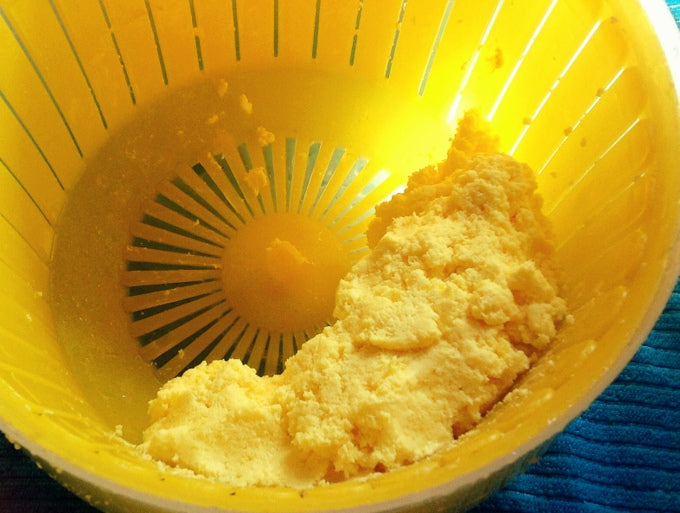
DEALING WITH MOLD
While mold on a sourdough starter is fairly rare, it does happen from time to time. You can check our sourdough starter for sale to start making sourdough bread. The cause is usually some sort of contamination with food or soap residue or weakened yeast due to a forgotten feeding.
If mold does appear, it may be time to discard the starter and begin again with a new starter, or it may be possible to revive the starter. Exercise good judgment. If the mold is only infecting the surface, reviving the starter may be appropriate. If mold is penetrating the entire starter below the surface, discard and obtain a new starter.
Do you want to make the perfect sourdough bread? Click here to download the Sourdough Guide and Recipe book today!

Instructions for Recovering a Moldy Sourdough Starter:
- Remove the mold from the surface.
- Using a clean utensil, remove a small portion of the sourdough that wasn’t near the mold. A tablespoon will suffice.
- Put that tablespoon in a clean container, and feed using the ratio of one part starter to one part water to a scant two parts flour. If measuring ingredients by weight, use equal parts of starter, flour, and water.
- Mix, cover with a breathable lid, and proof for 12 hours.
- Feed the sourdough starter again using the same ratio. Continue to feed for several days and watch carefully for any signs of mold.
- If there are no signs of mold or unpleasant aroma, the starter may be used again for baking or stored in the refrigerator.
Remember that sourdough is a living thing that can be unpredictable. Thankfully it is also a fairly resilient thing that can often be brought to life even after the biggest of trials.
MAKING SOURDOUGH WITH CULTURES FOR HEALTH
If you haven't started making sourdough with our amazing sourdough starters - what are you waiting for?
Cultures for Health has the largest selection of fermentation and culture products in the world with our amazing starters and kits.
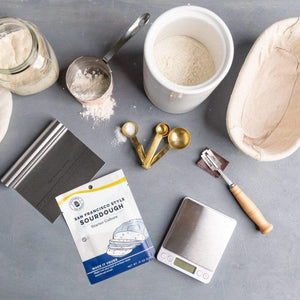
Our Artisan Sourdough Kit gives you everything you need to start with a starter, tools, and recipe cards so you know exactly what to do.
Whether you're a newcomer or an experienced fermentor, Cultures for Health has everything you need.


