


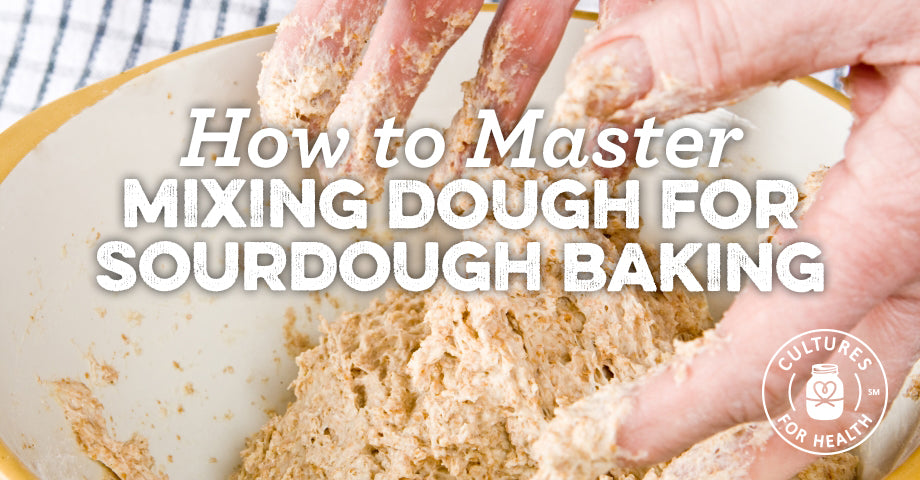
“Mix wet and dry ingredients together.” Mixing ingredients to make dough is the very first step in nearly every sourdough bread recipe. Yet recipes rarely go into detail about the best way to actually combine ingredients. In this tutorial, we’ll explain techniques for mixing dough to help you master sourdough recipes. We'll cover:
- Why is Mixing Dough Important?
- Water Temperature and Mixing Dough
- Water vs. Dry Ingredients: How "Wet" Should the Dough Be?
- Autolyse: Waiting to Add Salt
- Step-by-Step Instructions for Mixing Bread Dough
WHY IS MIXING DOUGH IMPORTANT?
The goal of mixing dough is to bring together dry and wet ingredients to form a sticky, tacky dough that will hold together on its own while being manipulated into different shapes.
While mixing dough is a fairly straightforward process, it can have significant impact on your finished product as it is your only real opportunity to make adjustments to your sourdough recipe before baking. Once a dough has been formed, it becomes resistant to changes in the hydration and composition of ingredients, so being mindful of certain factors while initially mixing your ingredients together is extremely important.
The simplest of bread doughs contain only four principal ingredients: water, flour, salt, and some kind of leavening agent such as commercial yeast or a natural sourdough starter. (A leavening agent is the ingredient that causes the bread to rise.) Beyond those four ingredients lies an infinite potential of flavoring possibilities. In this tutorial, we will be focusing on mixing bread dough using a natural sourdough starter. The information provided below is for general use and should apply to virtually any sourdough recipe.
WATER TEMPERATURE AND MIXING DOUGH
By altering the temperature of the water used in the initial bread dough, you can lengthen or shorten your proofing time to suit your schedule.
- Mixing with warmer water will speed up the activity of the yeast and bacteria in the dough and lead to a faster rise.
- Mixing with cooler water will slow down fermentation and can extend the proofing process.
Ultimately, the dough will equalize to the temperature of its surrounding environment, but you can increase or reduce your proofing time by a few hours just by adjusting the starting temperature of your dough. Using warmer water is a great way to speed up the process if you are perhaps hoping to impress company at a dinner party later in the day with fresh baked bread. Whereas you may choose to use cooler water to time your proofing period so that you can start your baking process the following morning rather than in the middle of the night.
Keep in mind that the speed and temperature of the proofing will have a huge impact on the flavor of the finished loaf. In general, loaves that are baked after a long slow fermentation tend to be more sour and more complex in overall flavor, whereas loaves that are proofed and baked in a shorter window of time will be less sour and lighter in flavor. To learn more about this by reading "Short vs. Long Fermentation in Sourdough Baking."
WATER VS. DRY INGREDIENTS: HOW “WET” SHOULD THE DOUGH BE?
The amount of water used in proportion to the rest of the ingredients will also have a direct effect on your finished loaf. The ratio of water to flour in a recipe is commonly referred to as the ”hydration" of the dough.
Different styles of bread will call for different hydration levels. For example, Italian Ciabatta-style bread will call for a wetter dough than other styles of bread. In general, the dough is considered wet enough when all of the dry ingredients have been combined and there are no dry patches or uncombined ingredients remaining in the bowl. The dough should feel sticky, firm, and a bit stretchy once it has been mixed together.
If the dough feels liquidy and doesn’t hold itself together, then it may be a bit too wet and will be hard to knead and shape. In this case, you will need to add more flour. Add flour in one tablespoon increments to avoid adding too much and drying out your dough. While kitchen mixers are convenient tools for mixing dough, using your
Rule of Thumb: Add flour in 1 Tbsp. increments to avoid adding too much and drying out your dough.
While kitchen mixers are convenient tools for mixing dough, using your hands is often the best approach since it allows you to get a feel for the hydration of the dough.
Creating the right hydration level is crucial to later stages of working with sourdough (kneading, proofing, shaping, and baking) so being mindful of how the dough feels during the mixing process is a great way to ensure success. Over time, you will develop a good sense as to whether a dough has too much, not enough, or just the right amount of water. Experience is the best teacher!
AUTOLYSE: WAITING TO ADD SALT
As you will learn in the next section, we suggest leaving the salt out of the initial dough mixture and letting the dough rest before adding salt. This is due to the complex relationship between salt and live bacteria. Salt has been used as a preservative for food for millennia since it has effective antiseptic properties; however, bacteria has amazing adaptive abilities. It can actually learn to coexist with salt and continue to ferment.
With bread dough, it is best to give the sourdough starter a bit of a “head start” on breaking down the complex starches and proteins in the flour and grains before salt is introduced. This resting period between the initial mixing process and the addition of the salt is known as the “autolyse” period. Letting the starter work on the dough before adding the salt will help produce a better rise and a more complex flavor in the finished loaf.

STEP-BY-STEP INSTRUCTIONS FOR MIXING BREAD DOUGH
When it comes to technique for mixing a proper bread dough, there are a few tricks of the trade that can really make a difference in your finished product. Even the order in which the ingredients are added to the bowl can affect the texture and flavor of the loaf. While there are several methods for mixing dough, these step-by-step mixing instructions will put your dough in good form to rise well and bake evenly. For this process, you will need your ingredients, a large bowl (keep in mind, the dough will expand!), clean hands, measuring cups or a kitchen scale, and a plastic spatula or scraper (optional).
1. Measure out your water.
Be mindful of the temperature as it relates to your schedule. Remember: warmer water = shorting proofing, cooler water = longer proofing
2. Add your sourdough starter.
Start by adding just a tablespoon or so of the starter: if it floats, your starter is ready to bake with and you can add the amount of starter recommended by your recipe. If it sinks, the starter is not ready. You will need to wait an hour or more to mix your dough or your starter is simply too young to use for baking. If it doesn’t float in water, it won’t be able to give the bread the necessary rise.
3. Using your hands, break up the starter in the water to create a cloudy liquid.
This ensures that the starter is evenly distributed in your bread dough.
4. Add your flour and other ingredients, but leave out the salt.
5. Squish together wet and dry ingredients.
Using your hands or spatula, squish the wet and dry ingredients together until the flour is completely absorbed and the dough is just holding together - don’t over mix! Add a little more water or flour depending on how your dough feels at this point.
6. Let the dough rest for 30-45 minutes.
Covered with foil or plastic wrap to prevent a crust from forming.
7. Dissolve your salt in a little warm water and pour it over the dough's surface.
Thrust your hands into the dough to push the salt down to the bottom, squishing the dough together to incorporate the salt. Repeat until the salt feels incorporated and then give the dough a few folds in on itself to distribute the salt as evenly as possible.
8. Keep the dough warm and proceed with either kneading or no-kneading.
WHAT'S NEXT?
There you have it! Once your dough is mixed, you’re ready to move on to the kneading and proofing stages of the sourdough baking process.


