


Holidays can be a little more complicated if you are trying to eat clean. Food is a central part of many celebrations. But if you want or need to avoid wheat, dairy, processed sugar or artificial additives, it can feel like you can’t be a part of the festivities. One thing we do is make a fun cake for the holidays. Join me as I show you how we make a tasty, gluten-free chocolate treat. Chocolate is a Valentine’s favorite and we love it mixed with honey sweetened berry jam from our summer harvest!
15 minutes
120 minutes
4
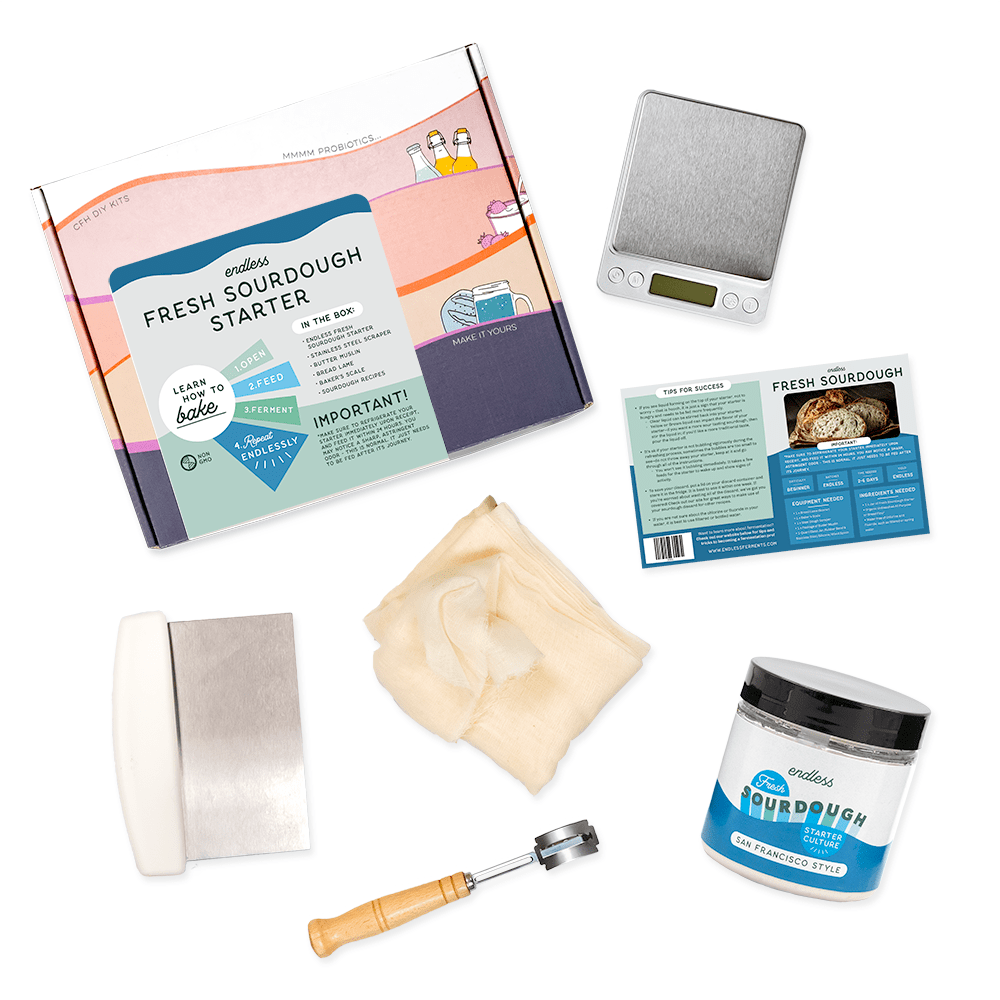
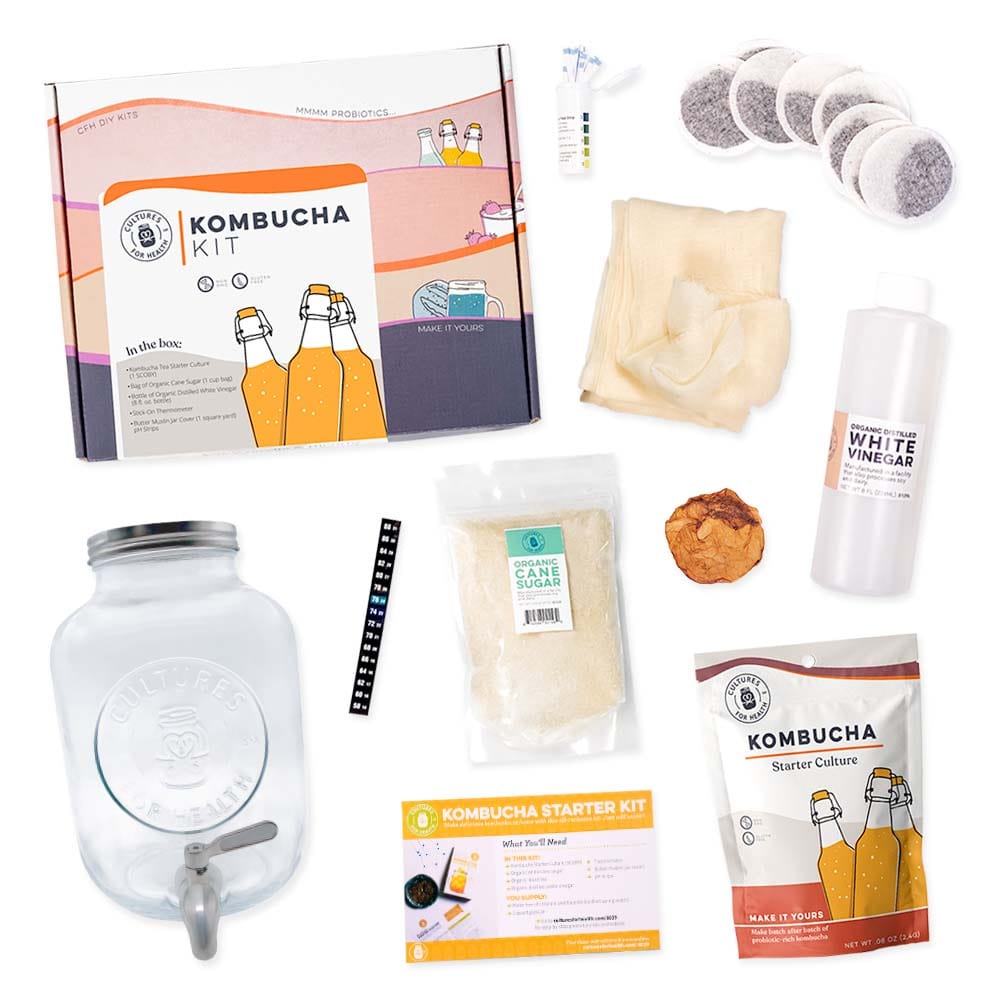
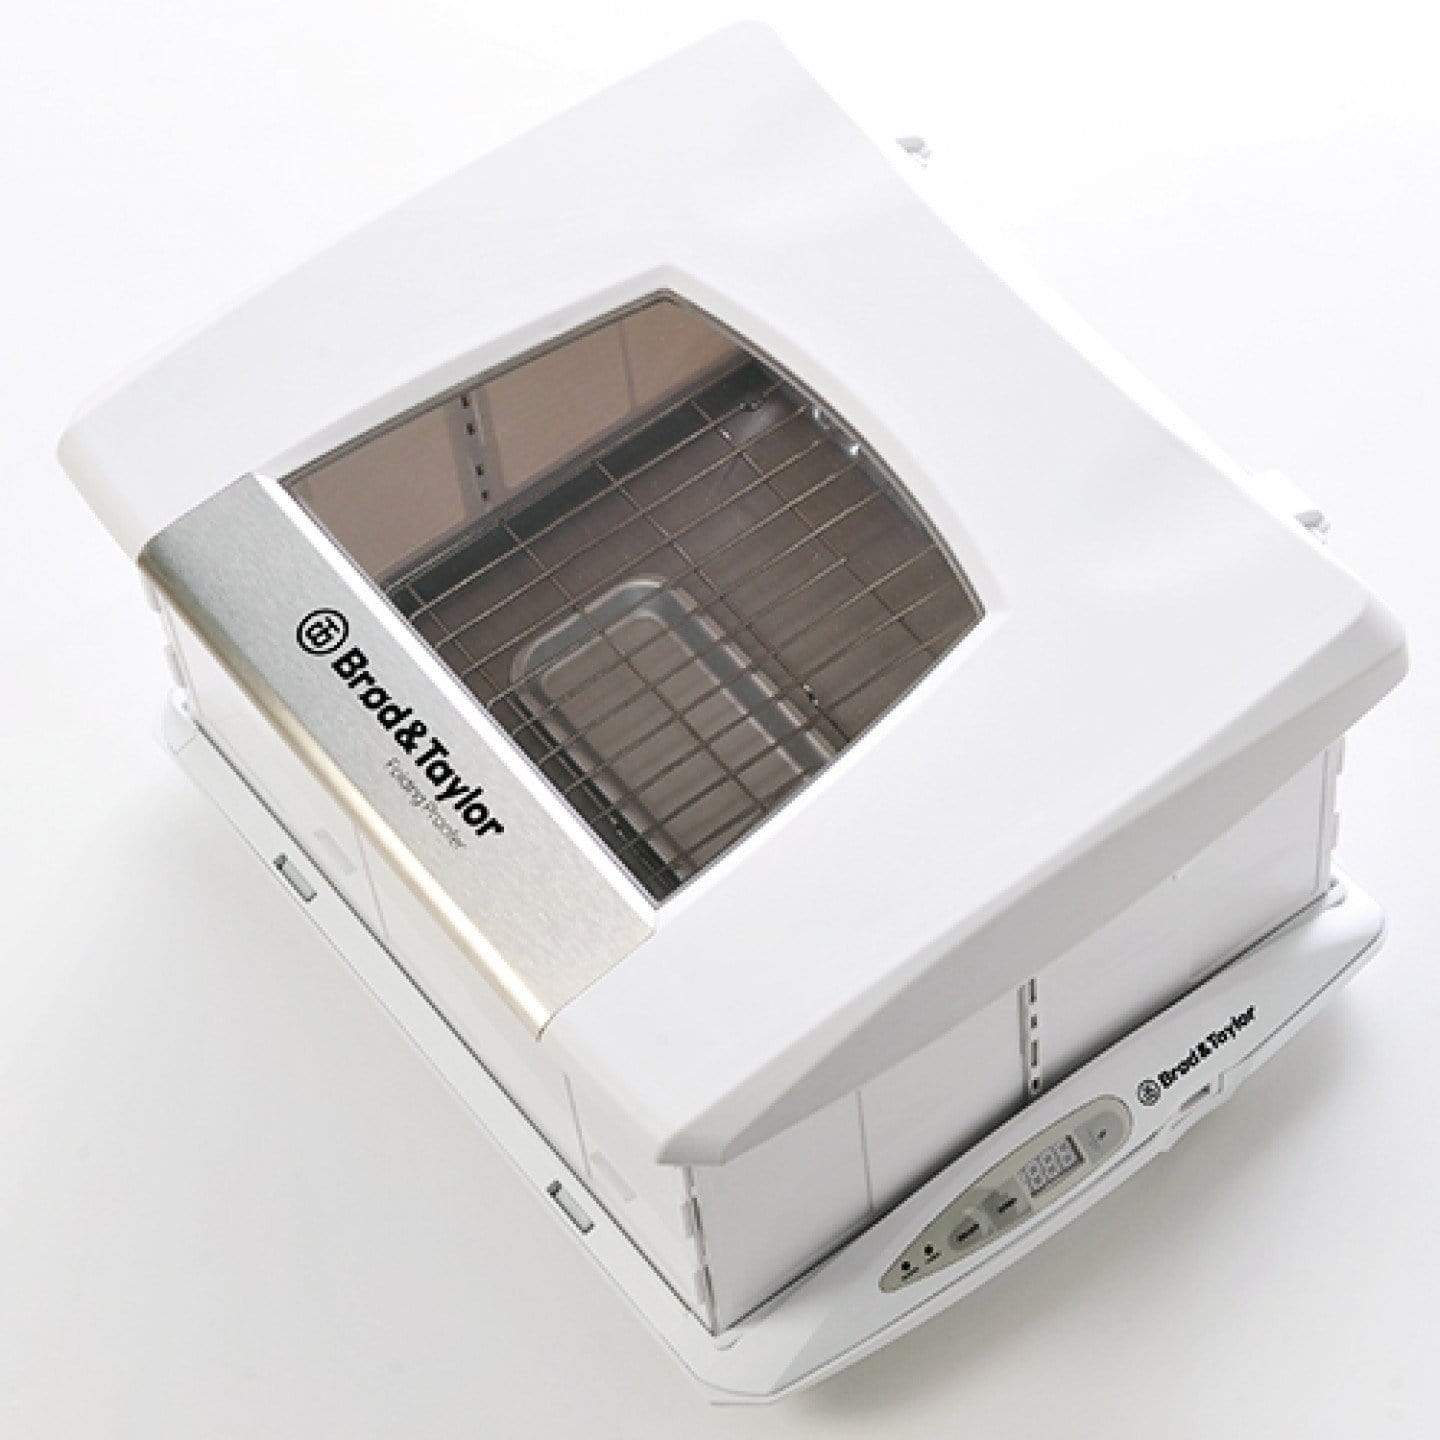
INGREDIENTS AND EQUIPMENT AVAILABLE AT CULTURES FOR HEALTH
Vegan Yogurt Starter Kit
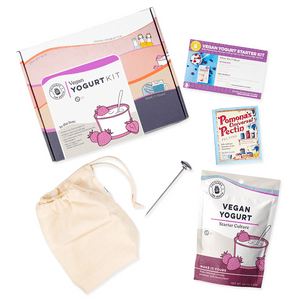
Vegan Yogurt Starter Kit
$29.99
Designed for beginners, this kit contains our tried-and-true favorite supplies to help you make thick dairy-free yogurt at home with soy milk, coconut milk, and more.
Make delicious vegan yogurt with this beginner-friendly kit. Whether you're looking for gut-healthy ingredients or an exciting DIY project, the Cultures for Health Vegan Yogurt Starter Kit will deliver a rewarding experience you won't soon forget.
Packaging and Equipment in the kit may appear different than pictured.
PLAN AHEAD
You will need to plan a couple days ahead of time to make this cake by preparing the cultured coconut items. I make our kefir by adding ¼ cup of finished water kefir to my homemade coconut milk. It separates, but if you shake it a few times while it is chilling in the fridge, it will emulsify and hold quite well! You can also culture coconut milk with your milk kefir grains, or make a quart or 2 of yogurt with our Vegan yogurt starter, leaving out any thickeners. The frosting is made from coconut sour cream. To make this, combine 6-8 ounces of coconut cream with 1 tbsp of water kefir and allow to culture overnight. When finished, chill for 6 hours.GETTING STARTED
INGREDIENTS:
- 2 cups gluten-free flour blend (I used 1 cup each of brown rice flour and tapioca starch with 1 tsp guar gum)
- 1/3 cup cocoa powder
- 1 tsp. salt
- 1 1/2 tsp baking soda
- 1 cup shortening or coconut oil
- 1 1/2 cup sucanat or coconut sugar
- 3 eggs
- 1/2 cup coconut kefir
- 1 tsp. vanilla
- 1/2 cup water
- 1/3 cup raspberry or other fruit preserves. (Marmalade makes a nice filling too)
- 1 cup coconut sour cream
- 2 Tbsp. honey
- 1/2 tsp. vanilla
INSTRUCTIONS:
Combine the dry ingredients in a bowl, sifting if necessary. Whisk together until well combined.

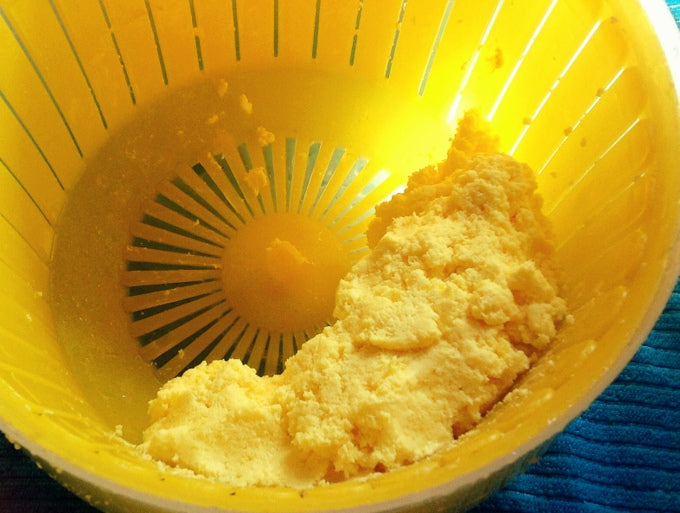
Set the dry mixture aside and measure your shortening and sugar into your mixing bowl. Beat on high for a minute or so. It really does make a difference! The first picture below was taken when the ingredients were first mixed together, the second was after a minute of mixing. If you don’t have a mixer, this is a great time for an arm workout or taking turns mixing the cake.

Now that you have that lovely fluffiness, you will start adding your eggs. For the lightest cake, add them one at a time, beating until smooth before adding the next egg. You are getting an even softer mixture!

Now it’s time to add the kefir. If you can eat dairy, you can use dairy kefir too. But there is something so good about coconut kefir in a cake!

After adding the vanilla, mix one more time until the kefir is evenly combined with the rest of the ingredients.
It’s time to start adding the dry ingredients. Before you do, get that ½ cup of water nearby. I didn’t forget about it, honest! Go slow, adding about ¼ to a ⅓ of the flour mixture, alternating with some of the water. It is a tiny bit of extra work, and pays off in the final product, big time! If your batter is a bit stiff, add up to ¼ cup more water. Scrape down the sides of the bowl and give it one last mix.

TIME TO BAKE
Prepare two 8” round pans, or one 9×13” baking pan. Grease and flour the pans, using some cocoa powder or the flour mix you used.
If you use two pans, you may want to weigh the pans with the batter to make sure you have an even amount. This helps them to bake evenly.
Bake your cake(s) for 20-25 minutes at 350 if they are in the round pans or 30-35 minutes in the larger pan. To test doneness, insert a toothpick. When it comes out clean, your cake is done. Take care not to over-cook your cake. Wheat based cakes are dry when over cooked. A gluten-free cake is inedible if it is overcooked.

PREPARING THE FROSTING
While your cake is cooling, you can start work on your frosting. Mix your coconut sour cream with 2 Tbsp of honey or other sugar and ½ tsp vanilla. Beat until creamy. Place in the freezer for 30 minutes and beat again to fluff.
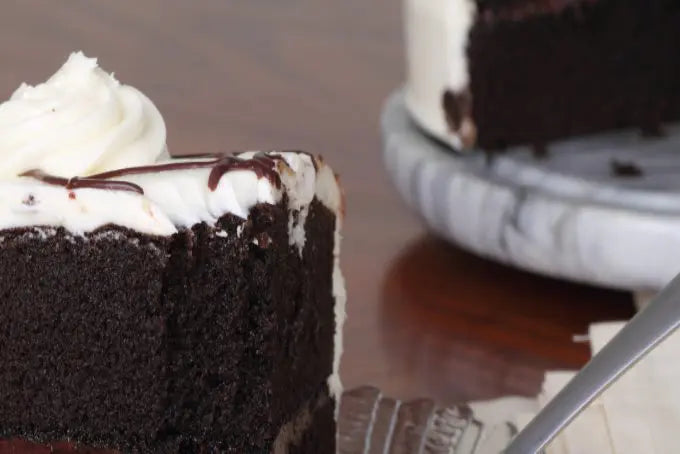
Put 1 cake on a serving plate. Spread the fruit preserves in an even layer and top with the second cake.
Spread your coconut sour cream frosting on top of the cake and let sit for a few moments to admire your hard work.

AND…ENJOY!
Serve simply to the ones you love the most and enjoy your holiday. Of course, you might get requests for another cake very soon!
Almost gone!