 $13.99
 $14.99
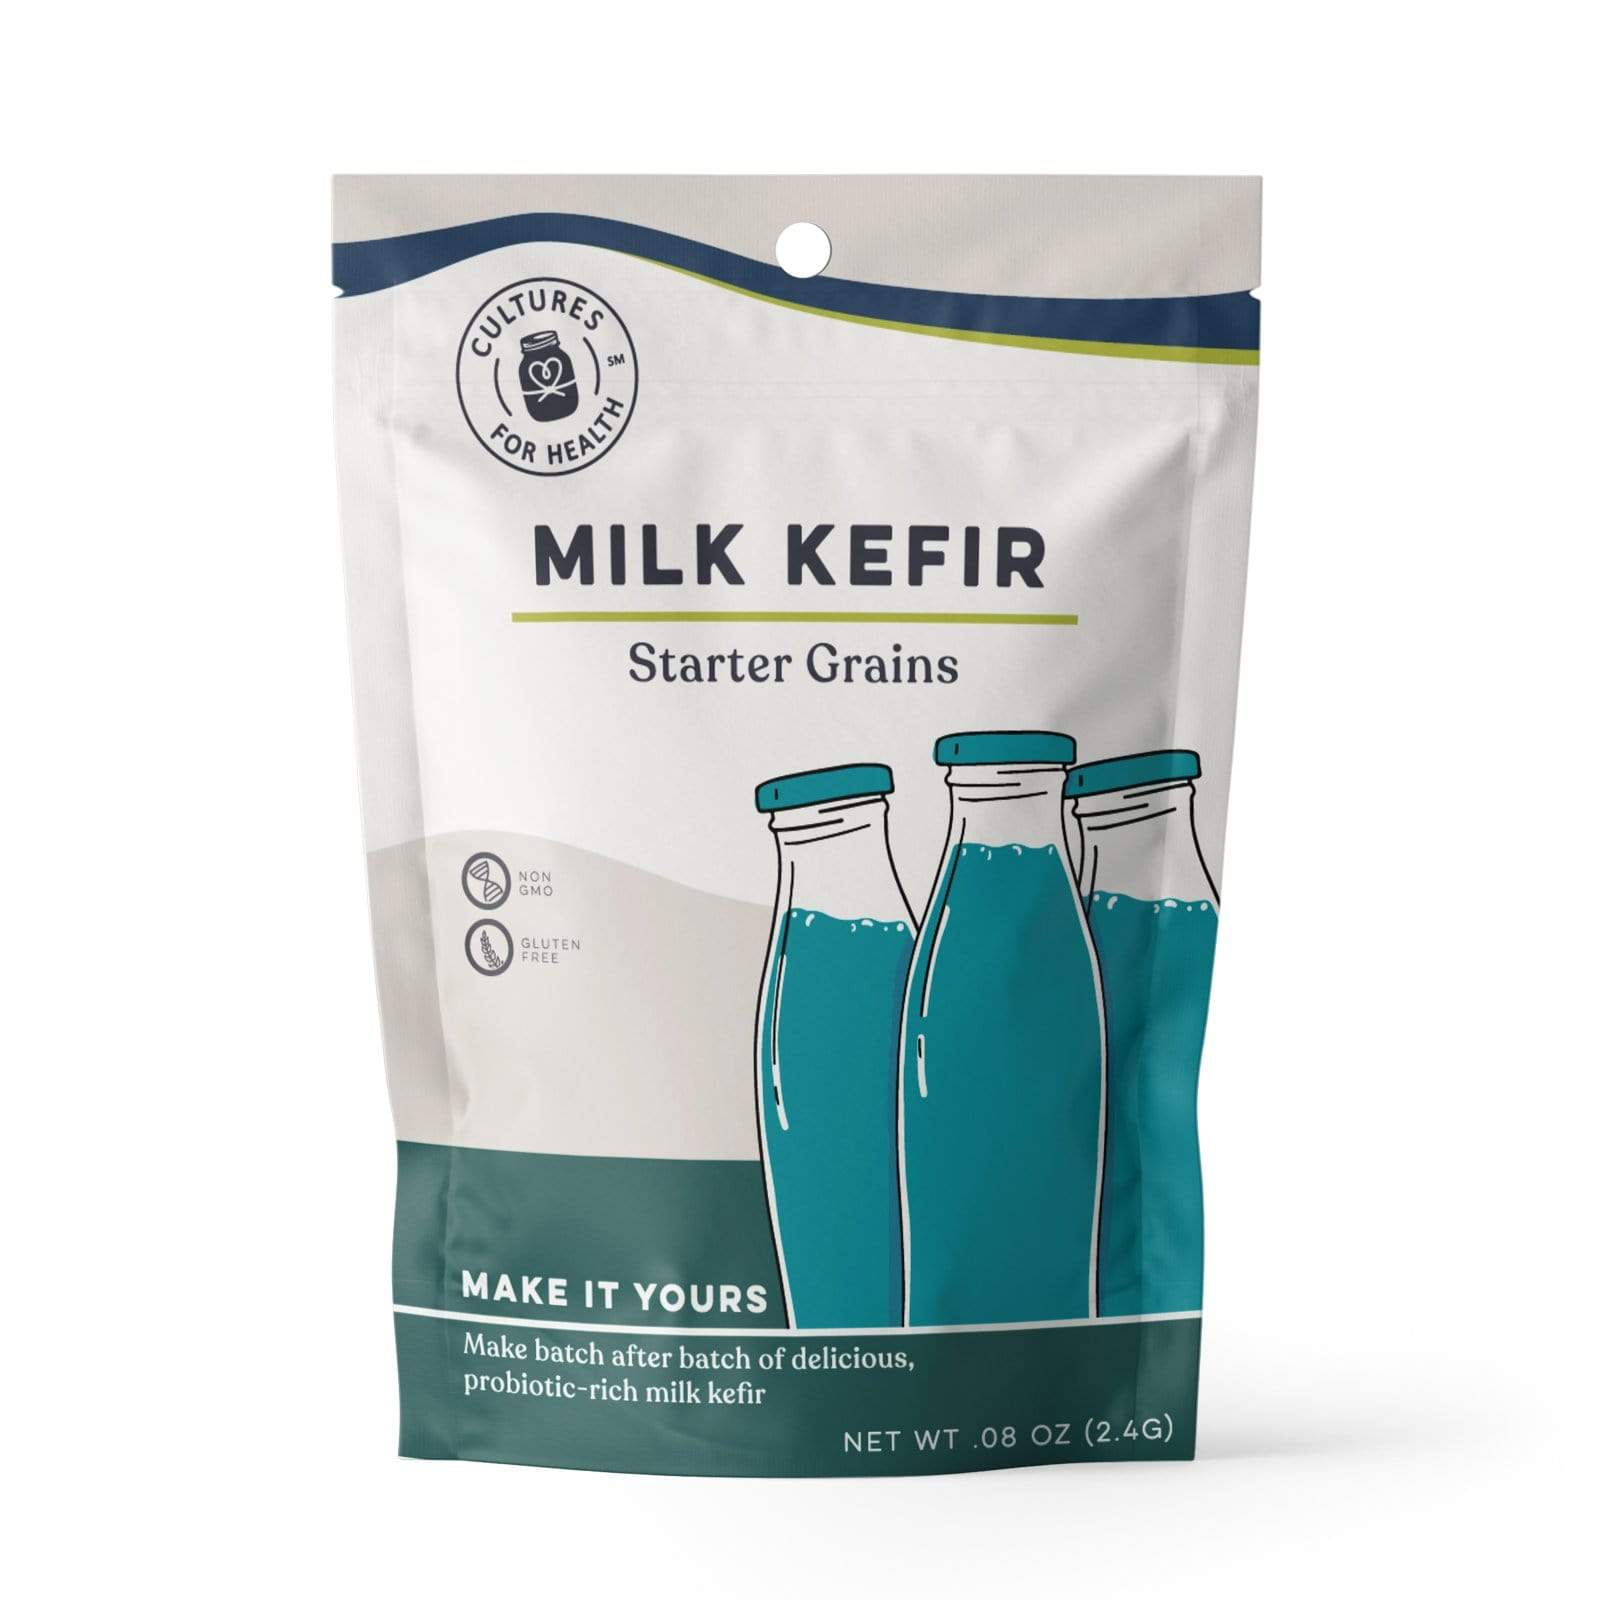 $26.99
 $50.99
 $36.99
 $34.99
 $59.99
 $24.99
 from
$10.00
from
$10.00  $39.95
  $15.99

Milk kefir is a fantastic way to add beneficial probiotics and enzymes to your diet. Milk kefir is easy and fun, and our cultures make it simple. Milk Kefir grains are a kind of strain of bacteria and yeast that "eat" the lactose in milk, turning it into lactic acid, CO2, and ethanol. This process also thickens the milk into a drinkable yogurt-like consistency. These potent probiotics can help improve digestion, boost energy levels, and support your immune system.

Milk Kefir: The Common Mistake you Might be Making
If you’re following along with our series on making milk kefir (see part one for rehydrating the grains and part two for making kefir), then you might be getting into a rhythm of making milk kefir every day.You might desire to continue making lots of kefir and have your grains multiply in order to start new batches, pass them around to friends, or use them to ferment something else.

Kefir grains are the living symbiotic colonies of yeast and bacteria that convert milk in to the probiotic powerhouse that is milk kefir. As the kefir grains digest the lactose in the milk, they create that tangy, creamy taste and texture that makes milk kefir what it is.

Coconut kefir is a great alternative for people looking for a non-dairy kefir. And even if you love milk kefir, coconut milk kefir is a tasty change of pace. Coconut kefir is as easy to make as regular kefir, there are just a few hurdles to keep in mind.

Milk kefir is not only easy to make, it is a delicious, probiotic-rich, versatile beverage your whole family can enjoy. Whether you are just exploring how to make milk kefir at home or have cultured dairy before, this video and instructions for our milk kefir recipe are here to help make culturing kefir at home easy.

Milk kefir is becoming a common sight on grocery store shelves and a popular probiotic drink. However, those with a strong intolerance to dairy may have to forego milk kefir. The good news is there are reduced dairy and dairy-free kefir options that are easy to make at home!

Many people choose to drink kefirbecause it contains far more strains of beneficial bacteriathan other cultured products such as yogurt. Both milk and water kefiralso contain beneficial yeast strains.

Looking for a tangy kefir option without the dairy? Learn 3 ways to make homemade almond milk kefir to get your kick of probiotics!

Making raw milk kefir is incredibly easy. Unlike raw milk yogurt, there is no need to keep a separate starter made from pasteurized milk. There are a few special considerations, however, when using raw milk to make milk kefir.

Once the grains are separated and transferred to fresh milk, the resulting liquid is milk kefir. Since the grains have been removed, the milk kefir can be further cultured and flavored, according to taste preference. This culturing period is the second fermentation.

The lactose found in milk is the primary food supply for dairy cultures. The cultures feast on the lactose and convert it into the tangy lactic acid we find in milk kefir or yogurt. Because the lactose is consumed in the fermenting process, any cultured dairy product is lower in lactose than the milk before culturing.


