


Maintaining a sourdough starter can sometimes feel like acquiring a new pet. Remembering to feed it regularly and allowing for adequate rising times may seem inconvenient, but it doesn’t have to be so. Here are some suggestions for making sourdough fit your schedule instead of ruling your life.
1. MAKE A DRY STARTER
Neglecting a sourdough starter can cause it to take on an undesirable flavor that is hard to get rid of, especially with whole-grain starters, like spelt or whole wheat. When life gets in the way, or maintaining a regular feeding schedule is just not possible, mix a dry starter to preserve your sourdough starter and keep it healthy.
How to Make a Dry Sourdough Starter
- Remove 6 ounces (about 2/3 cup) from a fresh, active culture.
- Place the starter in a medium bowl; add 2 cups of flour. Use flour that matches your starter: whole wheat flour for a whole wheat starter, spelt flour for a spelt starter, etc.
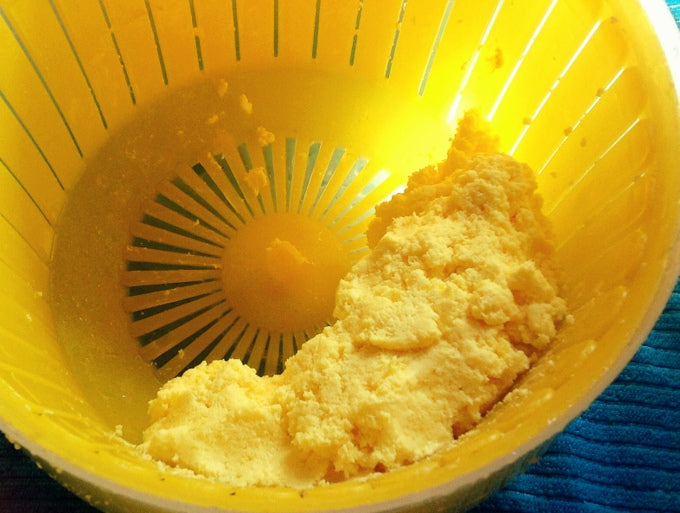
- Work the flour into the starter, using your hands if necessary, until the mixture resembles coarse breadcrumbs. Add additional flour if needed to achieve the correct consistency.
- Place the dry starter in a zipper-style bag or a glass jar with a lid. Store in the refrigerator for up to a month. It may be possible to store a dried starter for even longer before it becomes acidic enough to kill the culture.
How to Revive a Dry Sourdough Starter
- About 48 hours before you are ready to bake again, remove the starter from the refrigerator and pour the dry starter into a medium bowl.
- Add 1 cup of lukewarm water and stir.
- Cover loosely and leave at room temperature for about 30 minutes to absorb the water. Stir again, adding additional water or flour to bring the starter back to its original consistency.
- Resume the normal feeding schedule, feeding the culture two more times, about 8-10 hours apart, for total of three feedings. Your starter is now fresh and ready to use for baking.
2. PROOF YOUR SOURDOUGH IN THE REFRIGERATOR
Once your bread dough is prepared, you should allow adequate time for it to rise (proof) before baking. To make this portion of baking sourdough bread fit your schedule, there are a couple of options:
Option #1
While only one rise is essential, often it is easier to refrigerate the dough after mixing it, allowing it to have one slow, cool rise. Just before baking, shape the dough and give it a second, quick rise at room temperature.
Option #2
Let the dough rise for about an hour at room temperature before shaping into loaves. Put the loaves in the refrigerator to rise slowly, again baking at your convenience. If the refrigerated loaves seem to have risen too much, just reshape them and let them rise again.
Beware of Dough Rising Too Long
Dough that is over-risen will often flatten in the baking process and have a crumbly texture. To determine if the dough has over-risen, press a finger into the side of the loaf. If the loaf starts to deflate, it has risen too long and will benefit by being reshaped.
Many sourdough recipes can be proofed in the refrigerator, freeing you up to bake when it is convenient. Some dough can even be mixed, proofed, and then frozen to be baked at a later date, like Sourdough Bacon-Rosemary Cracker dough. Don’t be afraid to experiment with other sourdough recipes to find which ones are the most flexible. Most of all, don’t let your sourdough starter intimidate you. It’s really quite forgiving!


