


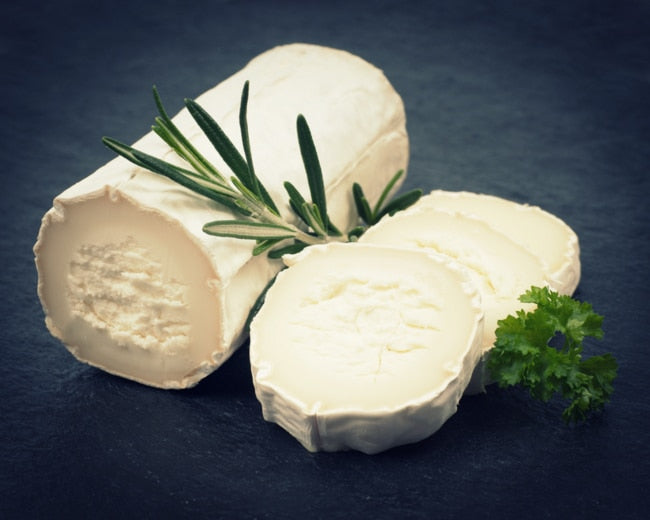


Gouda is a mild, smooth cheese, but it really comes alive with the addition of some spicy peppers!
30 minutes
180 minutes
4
INGREDIENTS AND EQUIPMENT AVAILABLE AT CULTURES FOR HEALTH
Fresh Cheese Making Kit

Fresh Cheese Making Kit
$45.99
Our most comprehensive choice, the Fresh Cheese Kit contains two starter cultures and supplies to make five different varieties of soft cheese - feta, cottage cheese, cream cheese, fromage blanc, and traditional quark. Kit contains a Mesophilic Cheese Culture, a Fresh Cheese Culture, calcium chloride, vegetable rennet, cheese salt, butter muslin, a thermometer, and an instruction and recipe booklet.
Packaging and Equipment in the kit may appear different than pictured.
Mesophilic Direct-Set Starter Culture

Mesophilic Direct-Set Starter Culture
$14.99
From cheddar, Colby, and Monterey Jack to Feta, Chevre, and more, you'll enjoy the flavor and variety of homemade cheeses made using this starter culture.
INGREDIENTS:
- 2 gallons whole milk
- 1 packet direct-set mesophilic starter
- 1/2 tsp. rennet diluted in 1/4 cup cool, unchlorinated water
- 1 tsp. dried jalapeno chilies
- 1/2 cup water
- Cheese wax
- 2 Lbs. cheese salt
- 1 Tbsp. calcium chloride
- 1 gallon cold water
INSTRUCTIONS:
- Boil the chilies for 15 minutes in enough water to cover, replenishing the water as needed to keep the chilies covered.
- Strain the chilies and save both the flavored water and the boiled chilies.
- Add the flavored water to the milk and bring the milk to 90°F. Mix in the starter, making sure it is incorporated thoroughly.
- Cover the milk and allow it to ripen for 10 minutes.
- Add the diluted rennet and stir gently with an up-and-down motion for 1 minute. If using farm-fresh cow milk, top-stir for 1 more minute.
- Cover and allow to set for 1 hour, or until you have achieved a clean break.
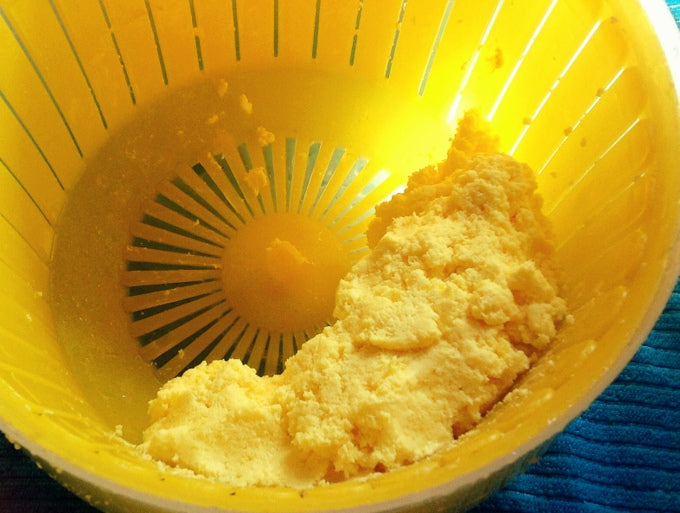
- Cut the curd into 1/2-inch cubes and allow them to rest for about 10 minutes.
- Pour off about 1/3 of the whey, and then add 175°F water back into the curds until the overall temperature reaches 92°F.
- Let the curds rest again for 10 more minutes. Pour off the whey and water again until you can just see the tops of the curds. Now add more 175°F water until the temperature reaches 100°F, and maintain the temperature at 100°F for 15 minutes, stirring occasionally to keep the curds from sticking together (matting).
- After the 15 minutes, allow the curds to set for 30 minutes, undisturbed.
- Pour off the remaining whey/water mixture. Stir the reserved chilies into the curds quickly, so as not to let the curds cool. Line a 2-pound cheese press and rapidly fill it with the warm curds and chilies, being careful not to break the curds up too much.
- Press at 20 pounds of pressure for 20 minutes.
- Take the cheese out of the mold, peel away the cheesecloth, flip it over, rewrap it in the cheesecloth, and place it carefully back into the mold. Press at 40 pounds of pressure for 20 minutes.
- Remove, undress, flip, and re-dress the cheese again and place it back into the mold. Press at 50 pounds of pressure for 14 to 18 hours. Remove from the press.
- Make a saturated brine solution, and add the calcium chloride to it. Mix it very well, being sure it is as dissolved as you can get it. Soak the cheese in it, flipping it every hour or so. Soak it for 12 hours total.
- Take the cheese out of the brine and dry it by using paper towels to gently pat the surface. Place your cheese on a cheese mat and allow it to air-dry for 2 weeks.
- Wax the cheese, then age it in a cool, dark place.
- This cheese is ready to eat at 3 to 4 months, but 6 to 9 months is a good full ripening period.