


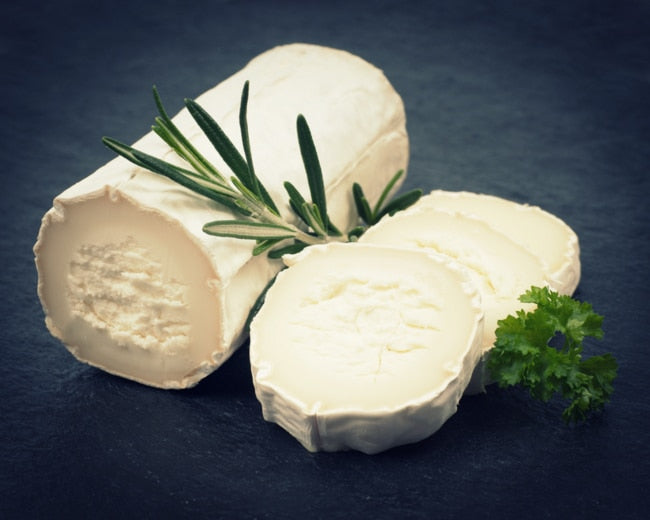


This unique cheese is developed in Amish country. It uses yogurt in place of a culture, requires a short aging period, and is rubbed in butter in lieu of a bandage.
5 minutes
70 minutes
1 Wheel
INGREDIENTS AND EQUIPMENT AVAILABLE AT CULTURES FOR HEALTH
Greek Yogurt Starter Culture
Greek Yogurt Starter Culture
$14.99
There’s a reason Greek Yogurt is one of our most popular products! Make tangy, rich, and delicious yogurt at home for a fraction of the cost of store-bought.
Using a starter culture allows you to control the ingredients, making your Greek Yogurt much healthier.
The Greek Yogurt Starter is an heirloom culture - meaning you'll make endless delicious yogurt all from one starter!
Liquid Animal Rennet
Liquid Animal Rennet
$9.49
High quality single strength animal rennet. This non-GMO animal rennet is preferred for aged cheese as it creates a more desirable flavor and aroma during the aging process. Each bottle contains enough rennet to set (12) 2-gallon batches of cheese.
Cheese Salt

INGREDIENTS:
- 2 gallons fresh milk (1 skim, 1 whole)
- 1/4 cup yogurt, diluted with 2 Tbsp. fresh milk
- 1/4 tsp. rennet diluted in 1/4 cup unchlorinated water
- 2 Tbsp. cheese salt (or coarse, un-iodized salt)
INSTRUCTIONS:
- Heat the milk to 90°F over medium heat, stirring constantly. Turn off the heat once temperature has been reached.
- Add the diluted yogurt by pouring it through a cheese spoon into the milk and stirring with up and down motions for 1 minute. Cover and allow the milk to ripen undisturbed for 10 minutes.
- Add the diluted rennet to the ripened milk in the same manner as the yogurt and stir in the same fashion for 1 minute. Place the milk in a 90°F water bath.
- Let the milk sit covered and undisturbed to coagulate in the water bath until it has achieved a clean break. Cut the curds into 1-inch pieces and let them set for about 15 minutes, keeping the surrounding water at 90°F throughout.
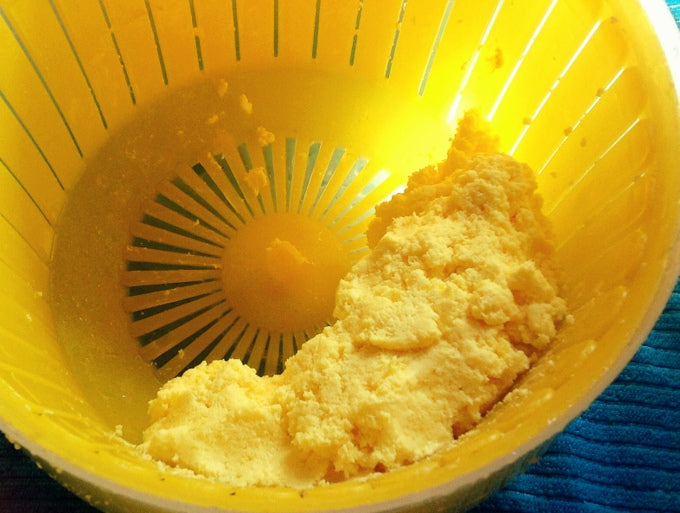
- Pour off almost all the whey and heat the curds over medium heat to 100°F. Pour off as much whey as you can and ladle the curds into a colander lined with one layer of damp butter muslin. Work in the salt with a wooden spoon or your hands.
- Pick up the sack of curds in the butter muslin and slip them into a waiting cheese press in a draining pan. Place the follower in over the curds and apply pressure just until whey begins to flow. Leave in the press for 12 hours, then flip the cheese, replace it in the press, and apply just enough pressure until you can see whey begin to appear in the holes of the press. Leave the cheese in the press for another 12 hours.
- Take the cheese out of the press and place on a reed or plastic drying mat in a warm place away from drafts and direct sunlight. Allow the cheese to dry out in the open air for a few days, flipping it about 3 to 4 times daily.
- When the rind of the cheese is dry and there are mold spots beginning to grow, wipe the cheese down with a piece of cheesecloth dipped in some apple cider vinegar and dry the cheese with a paper towel. Rub the cheese over with butter and put it away to age.
-
Flip the aging cheese every day, and rub it over with butter whenever mold spots appear. This cheese is ready to eat in 3 to 4 weeks. When it's ready, you can just scrape away the layered butter and cut into it, or for a sharper cheese, you can scrape away the butter at three weeks, wax it, and wait to eat it until the 12-week point.