


So you’ve started reading about cultured foods and you are overwhelmed. You’re scared that you don’t know what you’re doing. You’re afraid you’ll mess something up and someone will get sick. You’ve heard stories of people spending hours in their kitchen every day just making cultured foods.
Let us assure you that we’ve all been there, even the most veteran of cultured food-preparers. When you begin something new and foreign like this it is totally natural to not know where to begin.
How about starting with the three easiest cultured foods to make? These are so easy that you’ll spend just minutes in the kitchen preparing them. They are foolproof in that they require no fancy equipment, temperatures, or ingredients. And they are tasty enough to make you want to continue culturing these foods again and again.
SOUR CREAM
What is great about sour cream for the culturing newbie is that it is so familiar. Whether you top your baked potato with it, mix it into a creamy salad dressing, or add it to a taco platter, we all know sour cream.
When you make it at home it only tastes richer and it will lighten the load on your digestive system with whatever meal you eat it with.
There are three ways to make sour cream, as explored in this article. This method you can start with requires only two ingredients that you can find at your local grocery store: heavy cream (not ultra-pasteurized) and buttermilk containing live cultures.
It couldn’t be simpler:
Bring these ingredients home. Get out a pint jar. Add 2 tablespoons of buttermilk to the jar. Pour in a scant pint of cream. Put the lid on and shake the jar, then loosen the lid just a bit so that it is not airtight. Place the jar on your countertop and culture for 12 to 24 hours or until the sour cream is thick, creamy, and delicious.
Once you have mastered this go ahead and purchase a starter culture for even more authentic results.
MILK KEFIR
Milk kefir is even easier to make than yogurt. The biggest struggle people usually have with kefir is getting used to the taste. Most people are familiar with the tang of yogurt, but kefir with its yeasty tartness is just different enough to surprise people.
However, this mildly tart and delicious cultured dairy product can quickly become a favorite, and it is amazingly simple to make.
The process involves a glass jar (quart-size works well), kefir grains or starter culture, and fresh milk. Add the grains or starter to the milk in a glass jar. (Exact ratios are found on the directions that go along with the culture.) Cover and shake or stir with a wooden spoon. Cover loosely with a lid or coffee filter so it is not airtight but won’t let bugs in. Allow to culture 12 hours for a very mild and thin kefir, 24 hours for a thicker and stronger-flavored kefir.
Remove the kefir grains, add them to fresh milk, and start your next batch. That’s it! Click here for detailed instructions and a step-by-step video tutorial.
WATER KEFIR
The process of making water kefir is very similar to that of making milk kefir. The main difference is that instead of culturing milk you are culturing sweetened water.
Once you have cultured your sweetened water with kefir grains, you strain off the water kefir, bottle it, and can then flavor it with fruits and juices. The next batch starts simply by putting the grains into a new batch of sweetened water.
This beverage is mildly tart, and when juice or fruit are added on the second fermentation it turns into a fizzy soda pop-like beverage that is wonderful for weaning off of the store-bought sugar-laden sodas. Click here for detailed instructions and a step-by-step video tutorial.
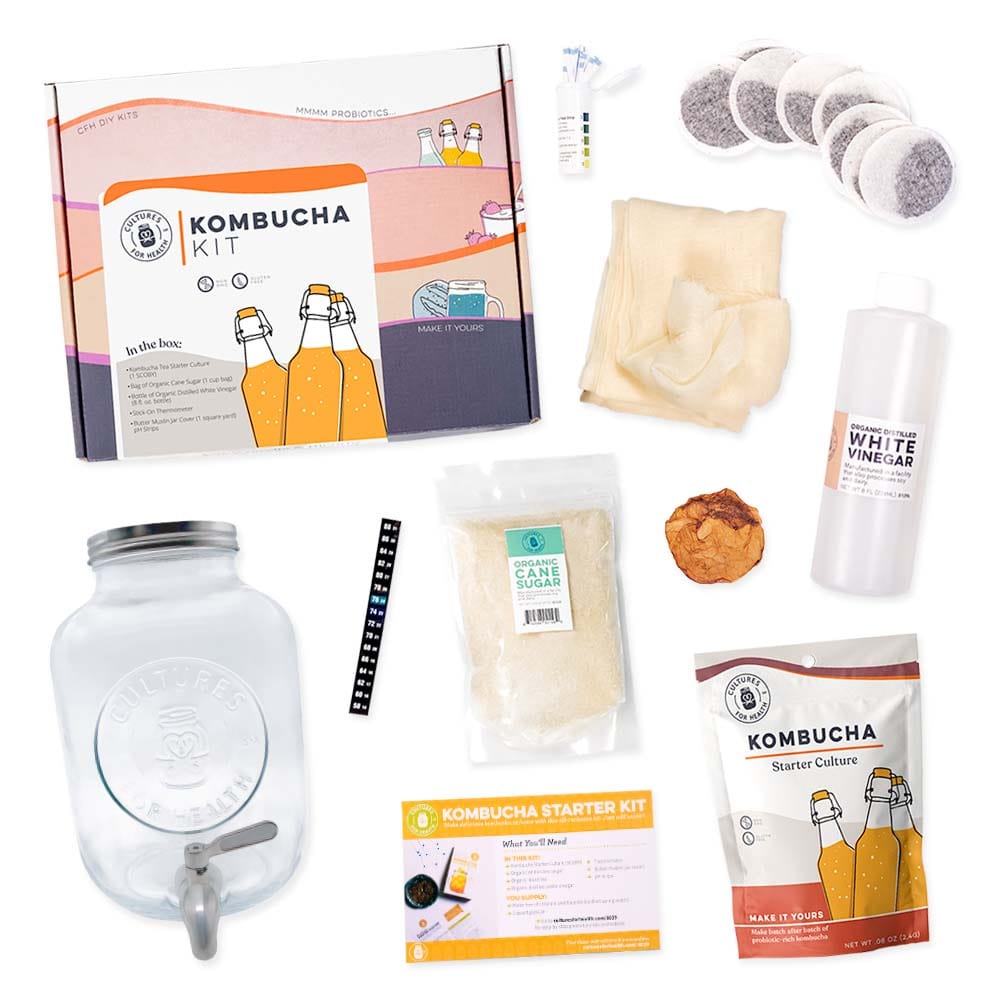
Once you have mastered all three of the above cultures you can move on to other fairly simple things like brined pickles or kombucha. Taking one culture at a time, learning to master the making of it, and learning to use it in recipes is a surefire way to get started without being overwhelmed or discouraged.


