


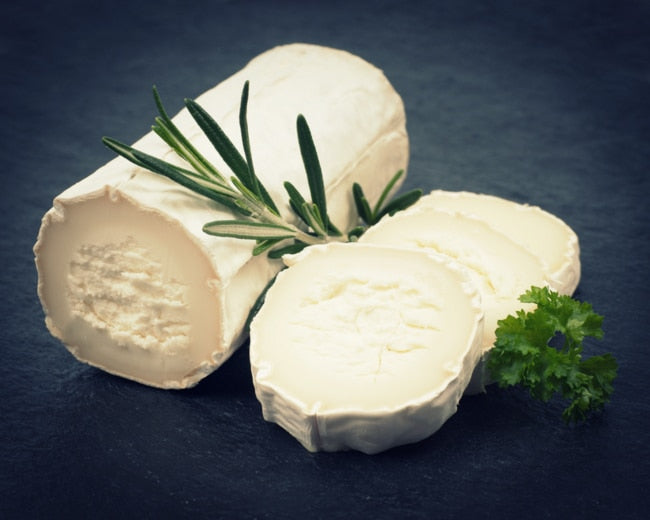


Sometimes during aging or even before then, a hard cheese will begin to develop cracks in the rind. It commonly happens when cheese has been brined or rubbed over in butter before aging, but there are other problems that can contribute to a cracked rind on hard cheese, and most are easily solved either upon discovery or simply by noting and resolving the problems in the next batch.
A FEW PROBLEMS THAT CAUSE RIND CRACKING
1. Dry Too Rapidly
If the cheese has dried too rapidly, causing the outer layers to become hard and to shrink, making large, deep cracks across the surface, try one of these methods for repairing them:
- Wrap the cheese in damp cheesecloth. Keep the cheesecloth just damp, and change it out as it becomes dry. This will not heal deep cracks, but will rehydrate the surface enough to close small ones or to deter the beginnings of new cracks.
- Place the cheese in a plastic container with a lid and a wad of wet paper towels, not touching the cheese but beside it. Snap the lid on tight and place the cheese in a warm spot for a few hours, to help re-moisten the surface of the cheese. Do not let the cheese sit in this sealed container for too long, just enough to make it damp again.
- Rub the cheese over with oil or butter. If using butter, press it deep into the cracks and rub it into the separated edges.
2. Cold Curds
If the curds had cooled too much when put into the press, they will not knit properly. Here are a few things to try, to remedy the issue:
- Take the cheese out of the press and soak it in 150°F water for 1 full minute to attempt re-knitting. Blot dry with a paper towel before placing it back into the press.
- Check that the curds are the proper temperature before putting them into the press next time. Use a cheese thermometer to check the temperature of the curds before pressing.

3. Acidic Brine
Sometimes the brine will be a little too acidic, causing a series of small cracks across a cheese’s surface during brining. To fix this problem, take the cheese out of the brine, allow it to air dry for a few minutes to equalize, and adjust brine to a pH of 5.5-5.6.
4. Cheesecloth or Butter Muslin Problems
If cheesecloth is bunched or rolled against the cheese during pressing, it will cause the cheese to dry unevenly around the malformed parts of the rind, making cracks. Avoid problems by following these guidelines and tips:
- Make sure and purchase good-quality cheesecloth, which can usually only be found in cheesemaking supply shops or online suppliers. The kind found at a grocery store will not work. Good cheese cloth or butter muslin will not pull and come apart when mild pressure is applied to it.
- When pressing a cheese, be sure and pull up the edges of the surrounding cloth to minimize any bunches or rolls. Fold it neatly over the top of the cheese before placing the follower atop the mold.
- Sew the cheesecloth into a cylindrical shape, matching that of the press. Shaping the cloth is the very best way to make the cheese have smooth sides and help with even drying.
- After the first and/or second pressings, remove the cheesecloth from the cheese entirely, if the cheese may be taken out of the press with relative ease without the cloth. Removing the cloth will press the cheese’s surface against the smooth sides of the press, reforming any lumps or divets.
By paying close attention to the developing cheese and keeping track of the aging humidity levels, disasters that can harm the cheese can usually be averted. Fix surface problems as soon as they occur, for best results.


