


You can learn to make delicious sourdough bread your whole family will enjoy! Our simple recipe and step-by-step video make it easy to make traditional sourdough bread at home. If you are new to sourdough baking, be sure to read our article on the Basic Principles of Working with Sourdough.
30 minutes
48 minutes
1
INGREDIENTS AND EQUIPMENT AVAILABLE AT CULTURES FOR HEALTH
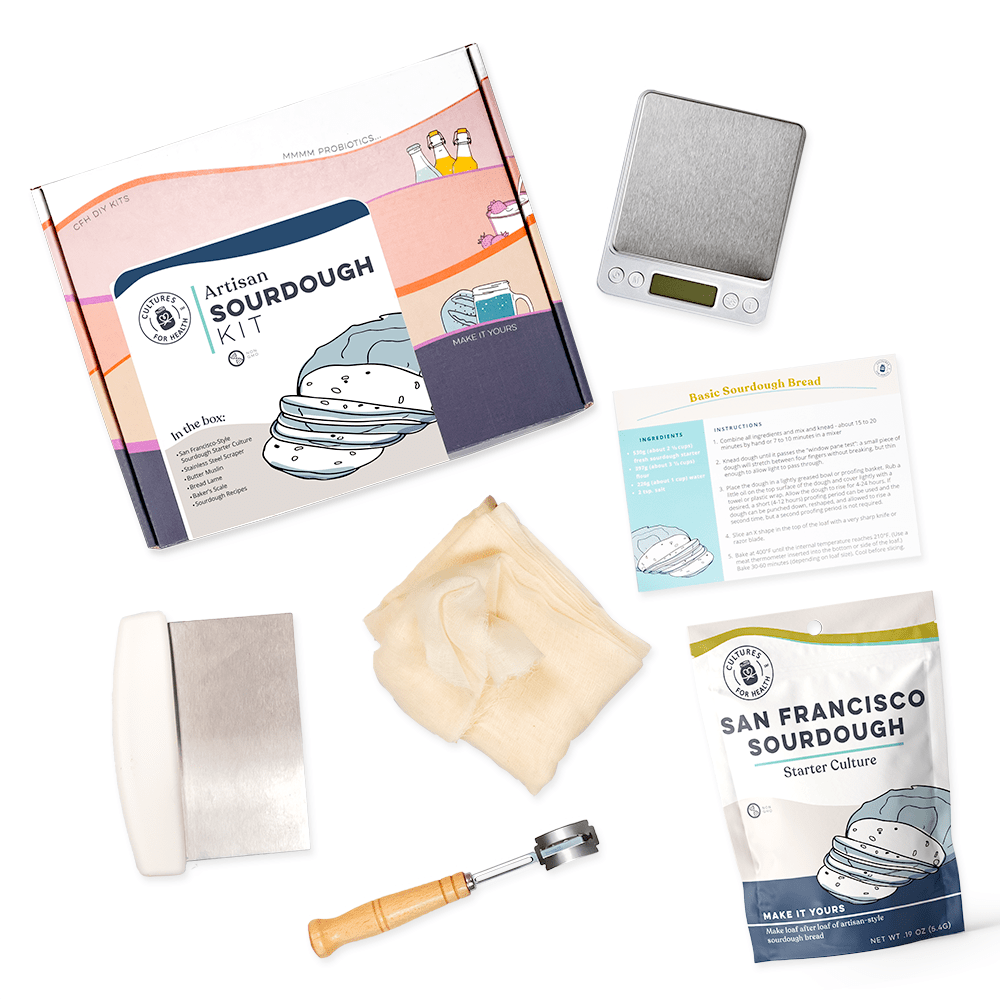
Sourdough Starter: San Francisco Style
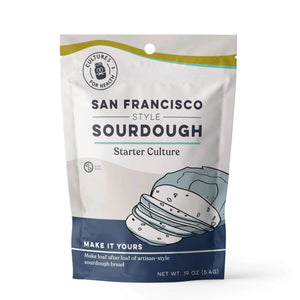
Sourdough Starter Culture: San Francisco Style
$13.99
Our Sourdough Starter Culture sets you up for bread-making success!
The Sourdough Starter is an heirloom culture in a San Francisco style, meaning you'll make endless bread dough all from one starter! Just add water and white flour.
One of the premier sourdough starters for sale online, Cultures for Health's San Francisco style starter has proven itself very versatile and hardy, happily thriving in a variety of environments to continually produce chewy, crusty, tangy sourdough loaves.
Sourdough is perfect for beginners. It is a very forgiving culture and one of the easiest to work with!
*Note - recipe in video makes 1 sourdough loaf.
BEFORE YOU BAKE
How to Make a Sourdough Starter
If you need a sourdough starter for sale, there are several ways to obtain one. Learn more about How to Obtain or Make a Sourdough Starter to decide which option is best for you.
Preparing Your Starter for Baking
Baking light, fluffy sourdough bread requires fresh, active sourdough starter. Please refer to our article on Preparing Fresh Sourdough Starter for Baking to ensure your starter is ready to use for leavening bread.
TRADITIONAL SOURDOUGH BREAD RECIPE
Ingredients:
- 2 1/3 cups fresh sourdough starter
- 3 1/3 cup flour
- 1 to 1 1/2 cups water
- Scant tablespoon salt
Instructions:
- Mix sourdough starter, flour, and salt together. Add 1 cup water, then more as needed to make a moist bread dough.
- Knead dough until it passes the “window pane test.” That is, a small piece of dough will stretch between four fingers thin enough to allow light to pass through without breaking.
- Split the dough in half. Shape each half into a loaf.
- Place in a loaf pan (9 x 5 x 3 inches), proofing basket, or on a board. Cover lightly with a towel and proof 4-24 hours. While a second proofing period is not required, if desired, punch dough down after 4-12 hours, reshape, and proof again.
- Slice an X shape in the top of the loaf with a very sharp knife or razor blade to allow the loaf to expand during baking without splitting in unexpected places.
- Bake at 400°F for 30-60 minutes, depending on loaf size, or until the internal temperature reaches 190° to 210°F. Use a digital thermometer inserted into the bottom or side of the loaf.
- Cool before slicing.
Makes two standard loaves.
3 CRITICAL STEPS FOR LIGHT & FLUFFY SOURDOUGH
#1: Very Active Fresh Sourdough Starter
Very active yeast and bacteria are critical for proper leavening of bread dough. If your sourdough starter has been stored in the refrigerator, it has been living in a dormant state. Plan to remove the starter from the refrigerator 1 to 2 days in advance and feed it at least three times prior to baking. Follow the instructions for Making Fresh Sourdough Starter to ensure that your starter is active and ready to use for baking.
#2: Adequate Kneading to Activate Gluten
Thoroughly kneading the dough is a critical step to allow the gluten to fully develop. You'll also want to make sure you've mixed your bread dough properly prior to kneading.
- If kneading by hand, plan for at least 20 minutes of kneading, taking breaks if needed. For example, knead for 5-10 minutes, take a break, then knead 10-15 minutes more.
- If using a mixer, take care that the dough does not overheat, which can damage the yeast. Always knead the last 5 minutes by hand. When the dough passes the window pane test, it has been kneaded sufficiently. If it breaks before being stretched thin, continue kneading.
#3: Plan for a Long Proofing (Rise) Period
As a natural yeast, sourdough tends to take significantly longer to rise than dough made with commercial yeast. Timing is dependent on the specific starter and conditions in your home, and may vary widely. Plan for a 4 to 12-hour rise period. If you desire more sour bread, plan for 12-24 hours. Learn more about adjusting the sourness of your sourdough bread.
GET STARTED WITH SOURDOUGH STARTER FROM CULTURES FOR HEALTH NOW
Cultures for Health is here to help you with all of your fermentation needs including sourdough, kombucha, and cheese cultures.
We have the largest selection of fermentation products in the world including cultures, all-in-one kits, books, and all of the tools and equipment you will ever need.

Ready to Learn More?
- Read our Sourdough Baking Tips and Tricks
- Check out our Sourdough Resource Page for expert advice articles, sourdough how-to videos, sourdough recipes, and more!
- A Complete List of Sourdough Baking Terms