$13.99
 $22.99
 $21.99
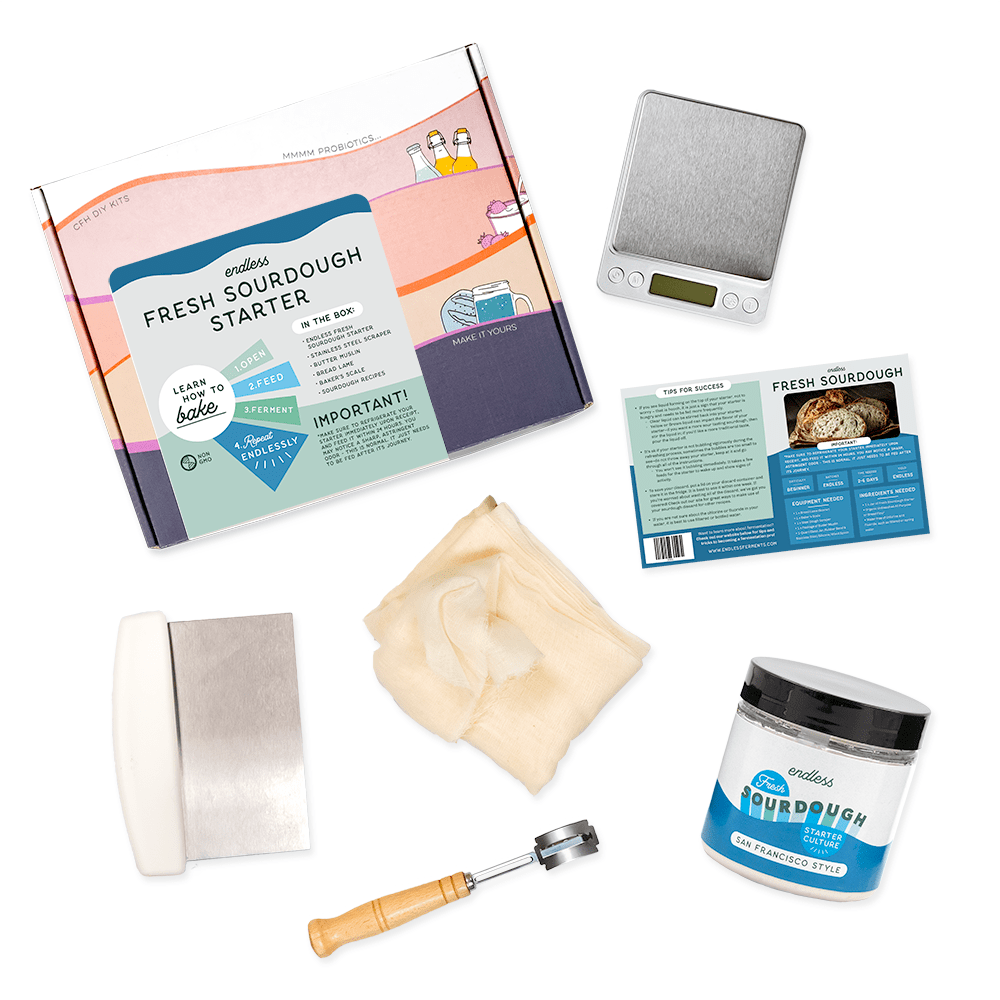 $53.99
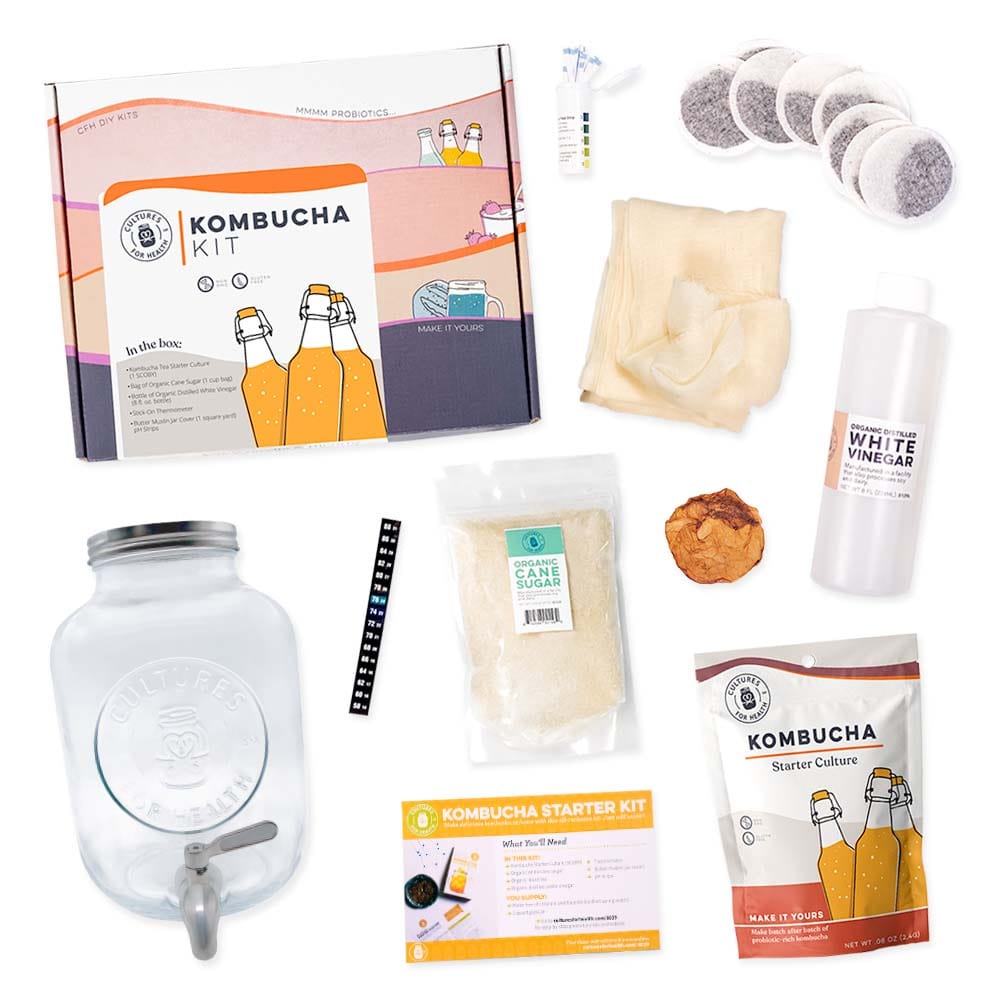 $63.99
  $34.99
 $219.95
 from
$10.00
from
$10.00  $39.95
  $15.99
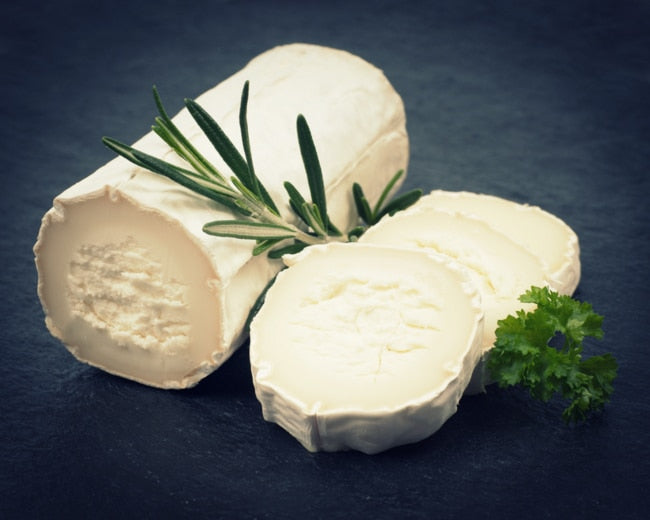
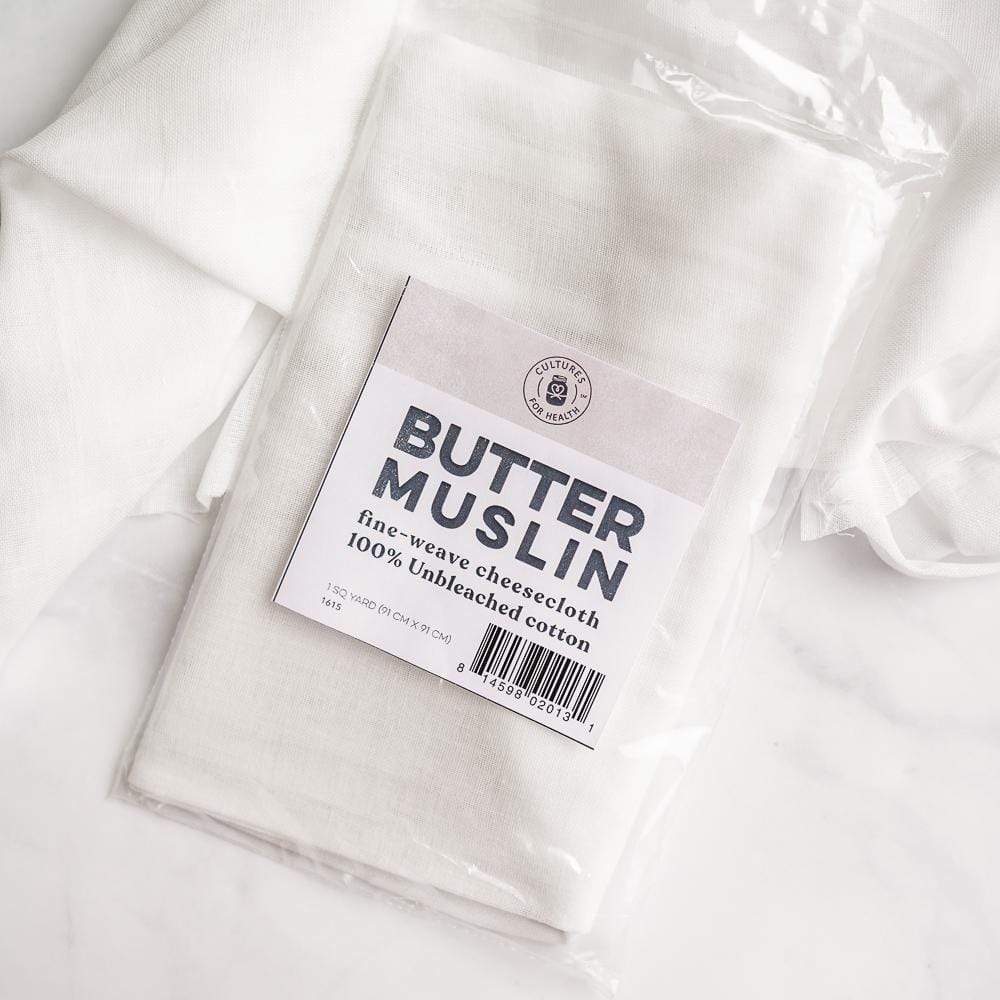
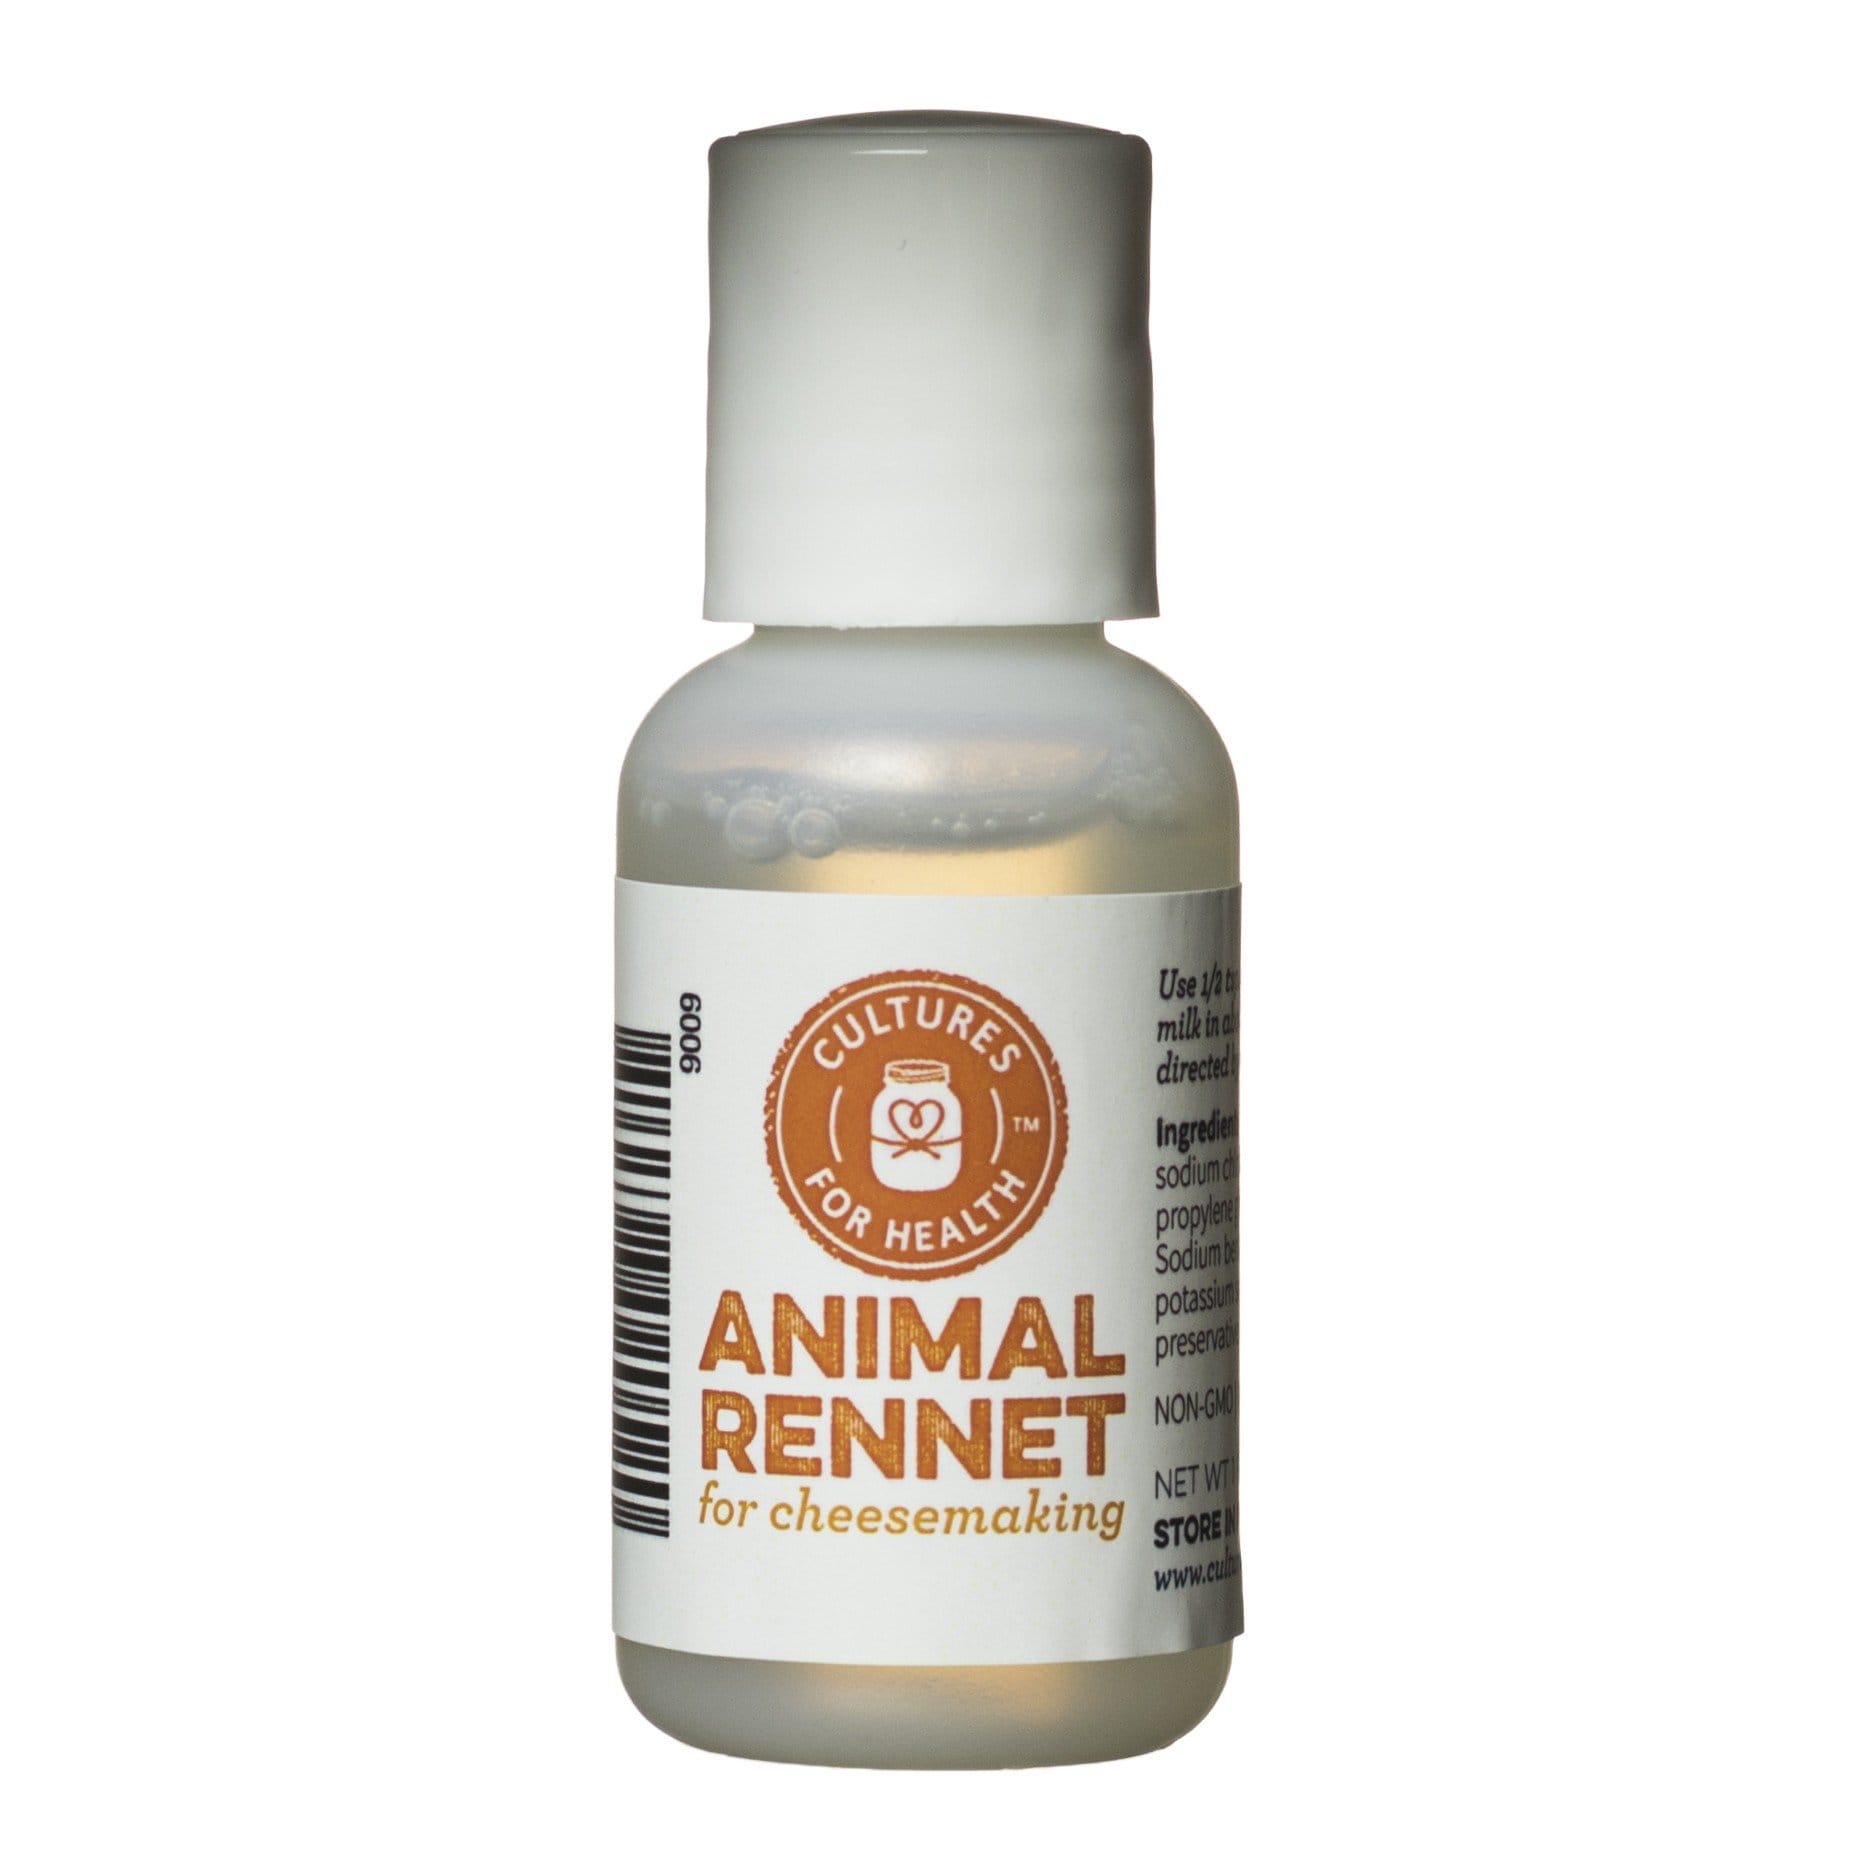
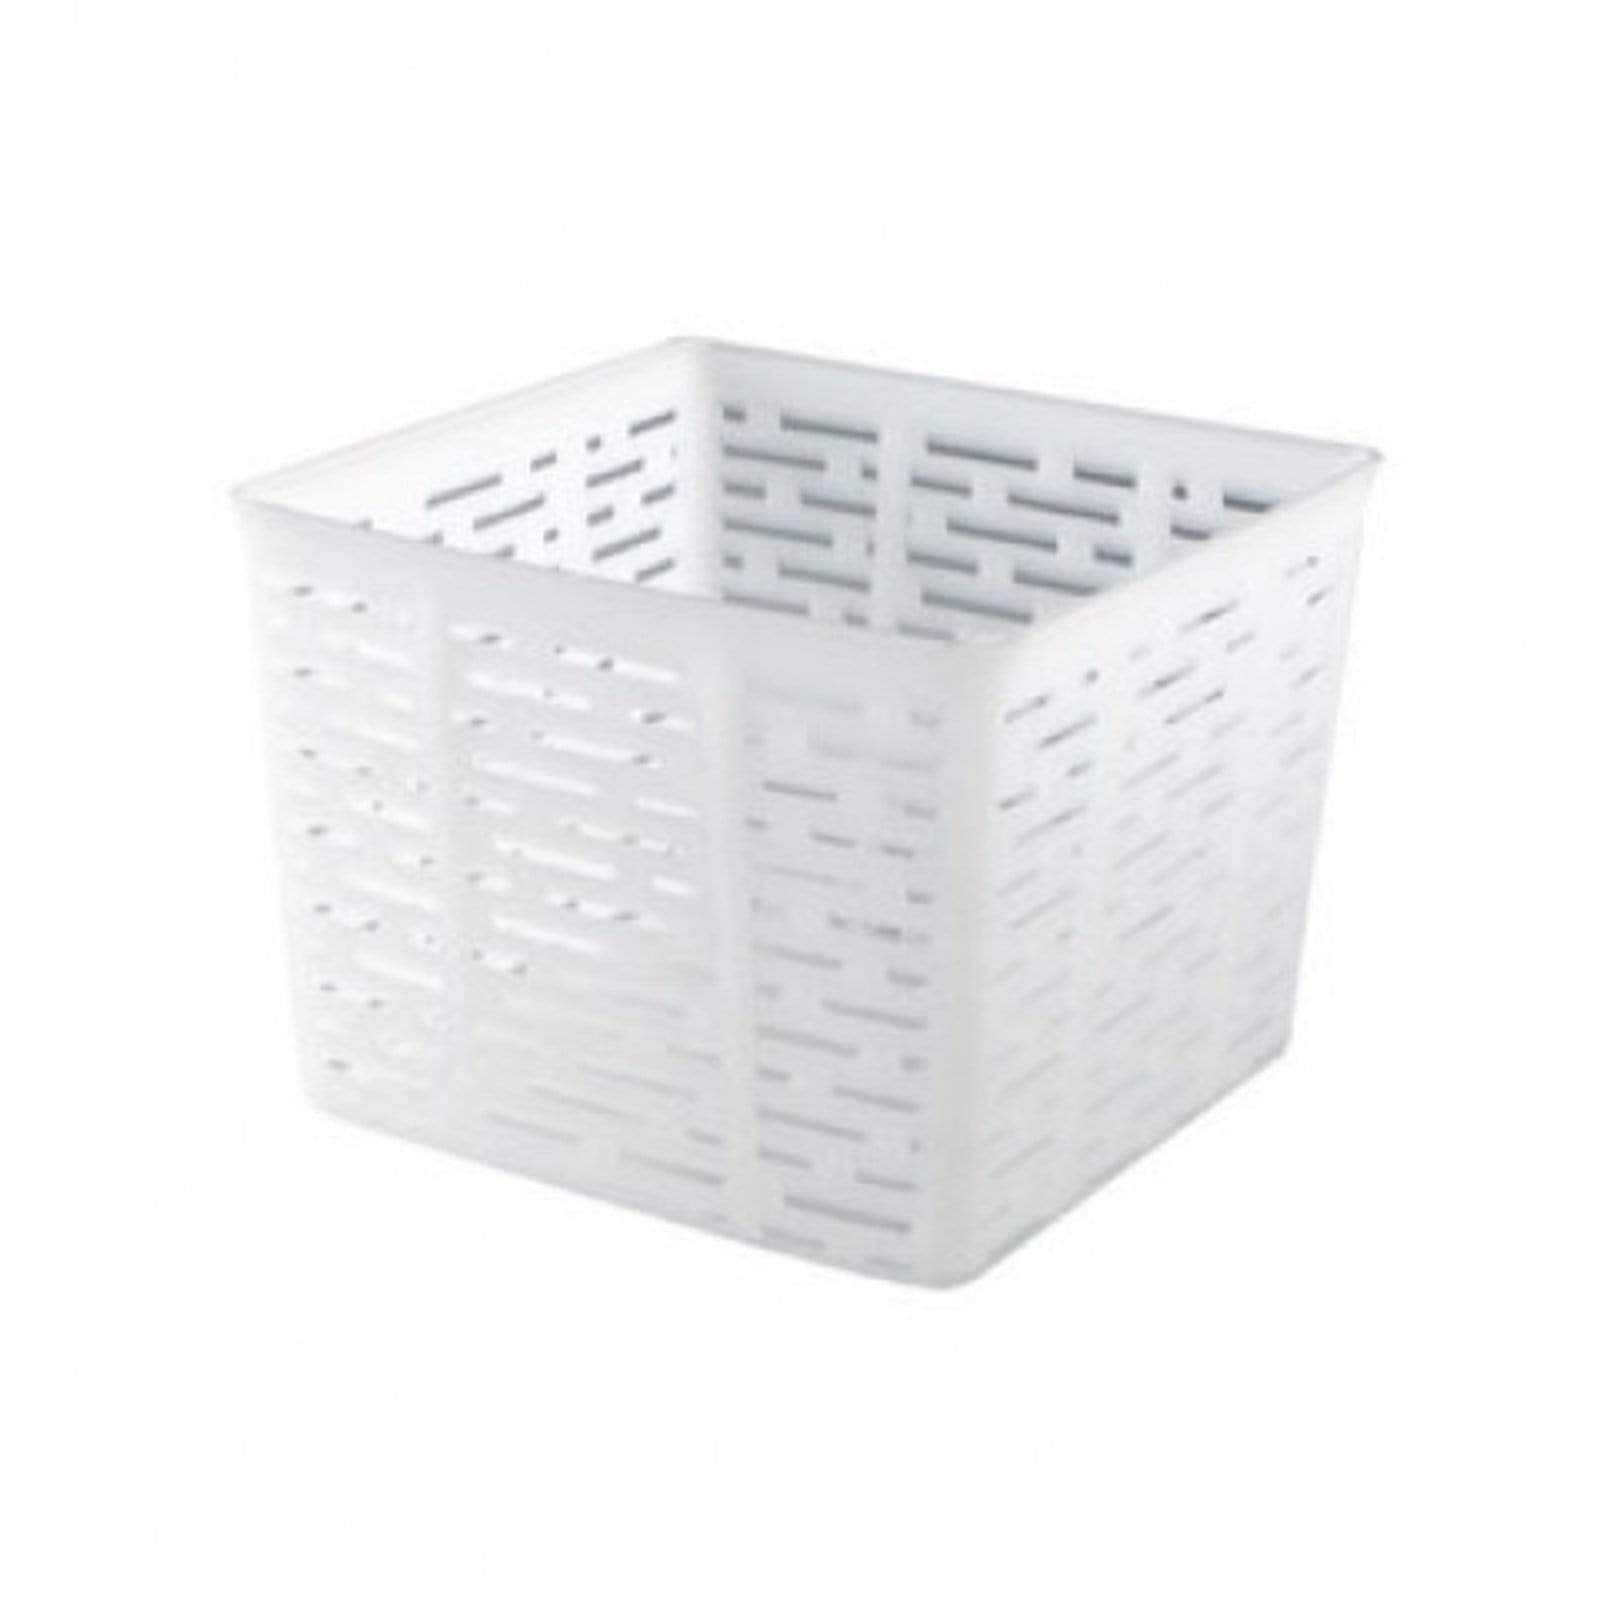
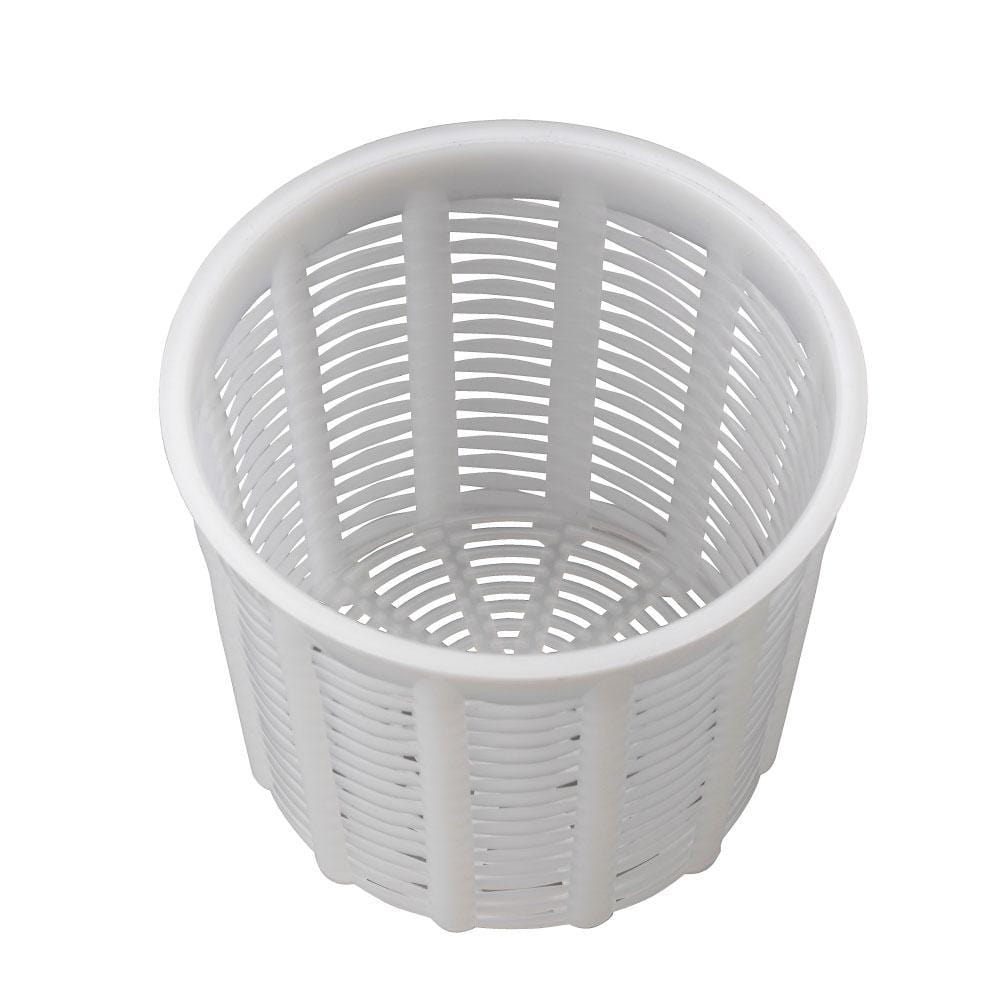
When it comes to crafting homemade, nutrient-rich cheese, quality cheese making supplies are essential. At Cultures for Health, we provide all the tools and ingredients you need to turn ordinary milk into extraordinary cheese. Our selection simplifies the process, making it accessible to beginners while also catering to the needs of experienced cheesemakers.
Choosing the right cheesemaking supplies is vital to your success and enjoyment in creating your own cheese. Our products are designed to deliver consistent, reliable results, turning a complex process into a manageable and rewarding experience. From cultures to molds and everything in between, Cultures for Health is your trusted source for high-quality cheesemaking supplies.
Our assortment of cheese supplies opens up a world of possibilities for your homemade cheese endeavors. Whether you're attempting to create a soft, creamy Brie, a sharp Cheddar, or a tangy Gouda, we have the tools and cultures that can help you achieve your goals. Cultures for Health cheese making supply is not only a tool kit—it's an invitation to explore and indulge in the diverse world of artisanal cheese-making.