


Want to make nutritious and delicious sourdough bread in your own kitchen? No problem! With our sourdough starter, anyone can get started on this healthy new hobby.
Sourdough is a wonderful and versatile food that has been around for centuries. The health benefits of sourdough are plentiful. It's rich in vitamins and minerals, and contains more protein than regular bread—not to mention that it tastes great!
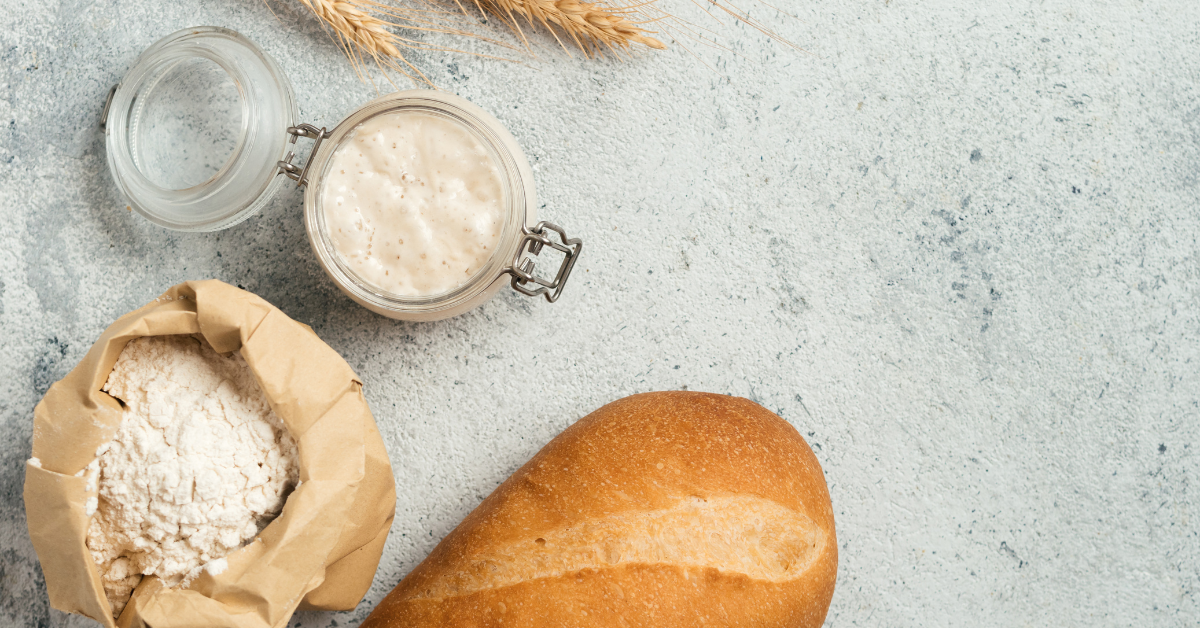
Making a sourdough starter is simple and easy, provided you have everything you need on hand. Follow our step-by-step sourdough starter recipe to learn how to create an everlasting starter that you can use for as long as you want.
Sourdough Starter

Before we jump right into our easy-to-use sourdough starter recipe, let's take a moment to discuss what a sourdough starter is, why you might want to make your own sourdough bread starter, and how long it will take to do so.
What is a Sourdough Starter?
Asourdough starter is a leavening agent that has been used for thousands of years. It's made from flour and water that’s left to ferment for several days until it develops a sour smell and taste. Different types of flour will yield different flavors in the finished product. So experiment with different flours to find your favorite!
Unlike commercial yeasts and baking powder, a sourdough starter offers natural fermentation for a more complex flavor and texture in baked goods.
The best part is that you can use a sourdough starter for so many things. You can make bread, pancakes, waffles, cinnamon rolls, and pizzas with it. It's also great for making bagels, pretzels, and even biscuits.
Note:Interested in improving your sourdough baking? Consider reading oursourdough blog for delicious and easy-to-use homemade sourdough recipes and helpful tips.

How Long Does It Take To Make a Sourdough Bread Starter
The amount of time it takes to make a sourdough starter varies, but generally it takes between one and two weeks. The length of time depends on how healthy your starter culture is and the temperature of where you live. If you live in a warm environment, it could take seven or eight days. If you live somewhere with a cold climate, it will probably take about two to three weeks.
A Note on Sourdough Starter Feeding Ratios

A sourdough starter can be fed either by weight or volume measurements. Weighing your ingredients is the way to go if you want a truly accurate measurement. However, keep in mind that a cup of flour can weigh very different amounts based on how settled the flour is. Thus, using a scale is definitely recommended.
But if you don't have a kitchen scale or just don't feel like getting one, using measuring cups is the next best thing.
Weighing Ratios
For your feedings, if you're using a scale, you're going to use:
- One part sourdough starter
- One part flour
- One part water
So, if you're using 100 grams of starter, add 100 grams of water and 100 grams of flour.
Volume Ratios
If you use measuring cups, you'll want to use:
- One part sourdough starter
- One part water
- Scant 2 parts flour
So you would use ½ cup of starter to ½ cup of water to just under a cup of flour. Today, we'll show you how to use measuring cups, since many of you will have some on hand.


Sourdough Starter Bundle
How To Make Sourdough Starter
Making a sourdough starter is pretty easy, but it takes some time. Here's how to do it:
Ingredients
- One Packet Of Dehydrated Sourdough Culture
Our sourdough starters are shipped in a dehydrated state that keeps them safe during transit, and they just need to be activated before they can be used to bake bread. A good starter culture helps ensure that you have a healthy, diverse, great-tasting yeast culture that gets established in your new starter.
- Flour
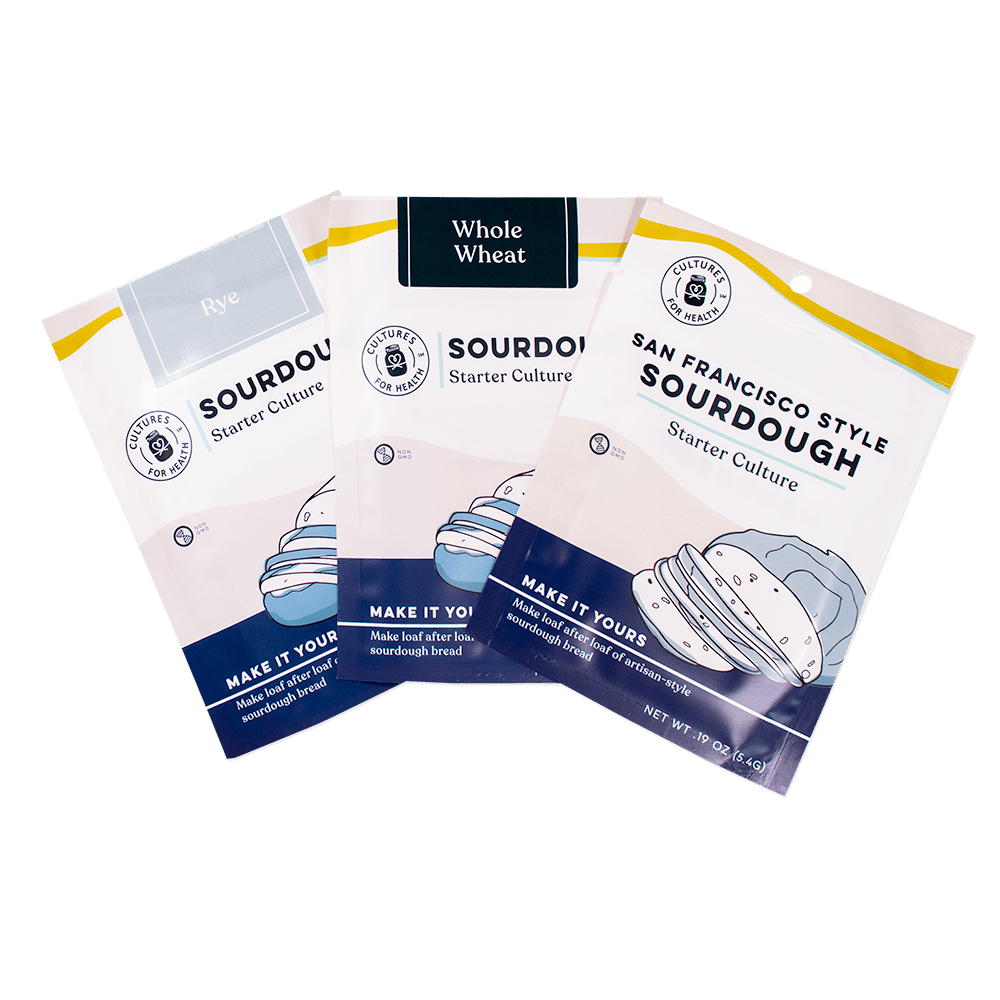
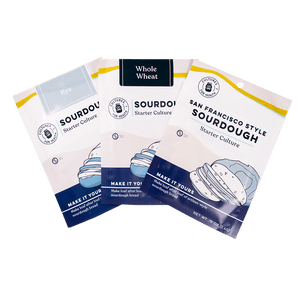
We recommend organic flour. The type of flour you need depends on which sourdough starter you are activating. We offer several varieties ofsourdough starters on our site, each of which come in a different flour.
- Water
It should be free of chlorine and fluoride. Either filtered or bottled spring water will work best.
Equipment
- Glass jar (one quart)
- Coffee filter or tight-weave cloth
- Rubber band
- Mixing utensil
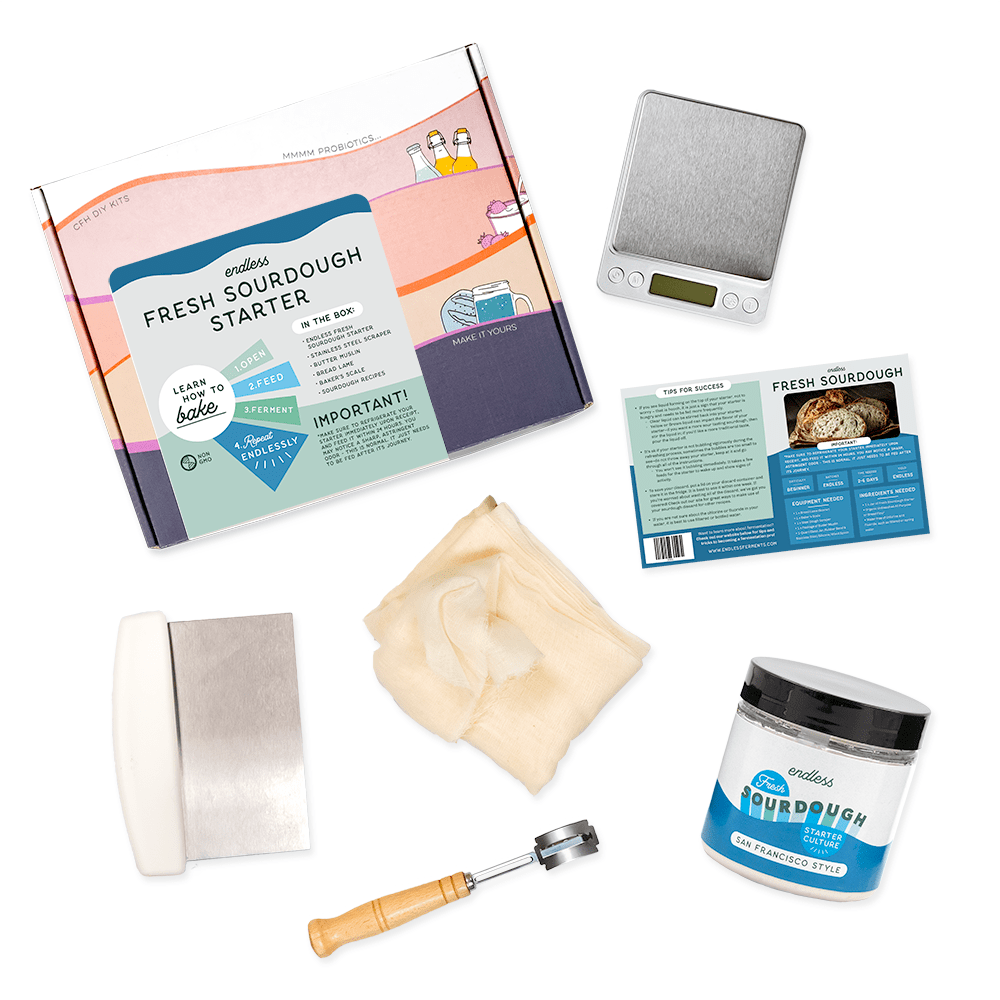
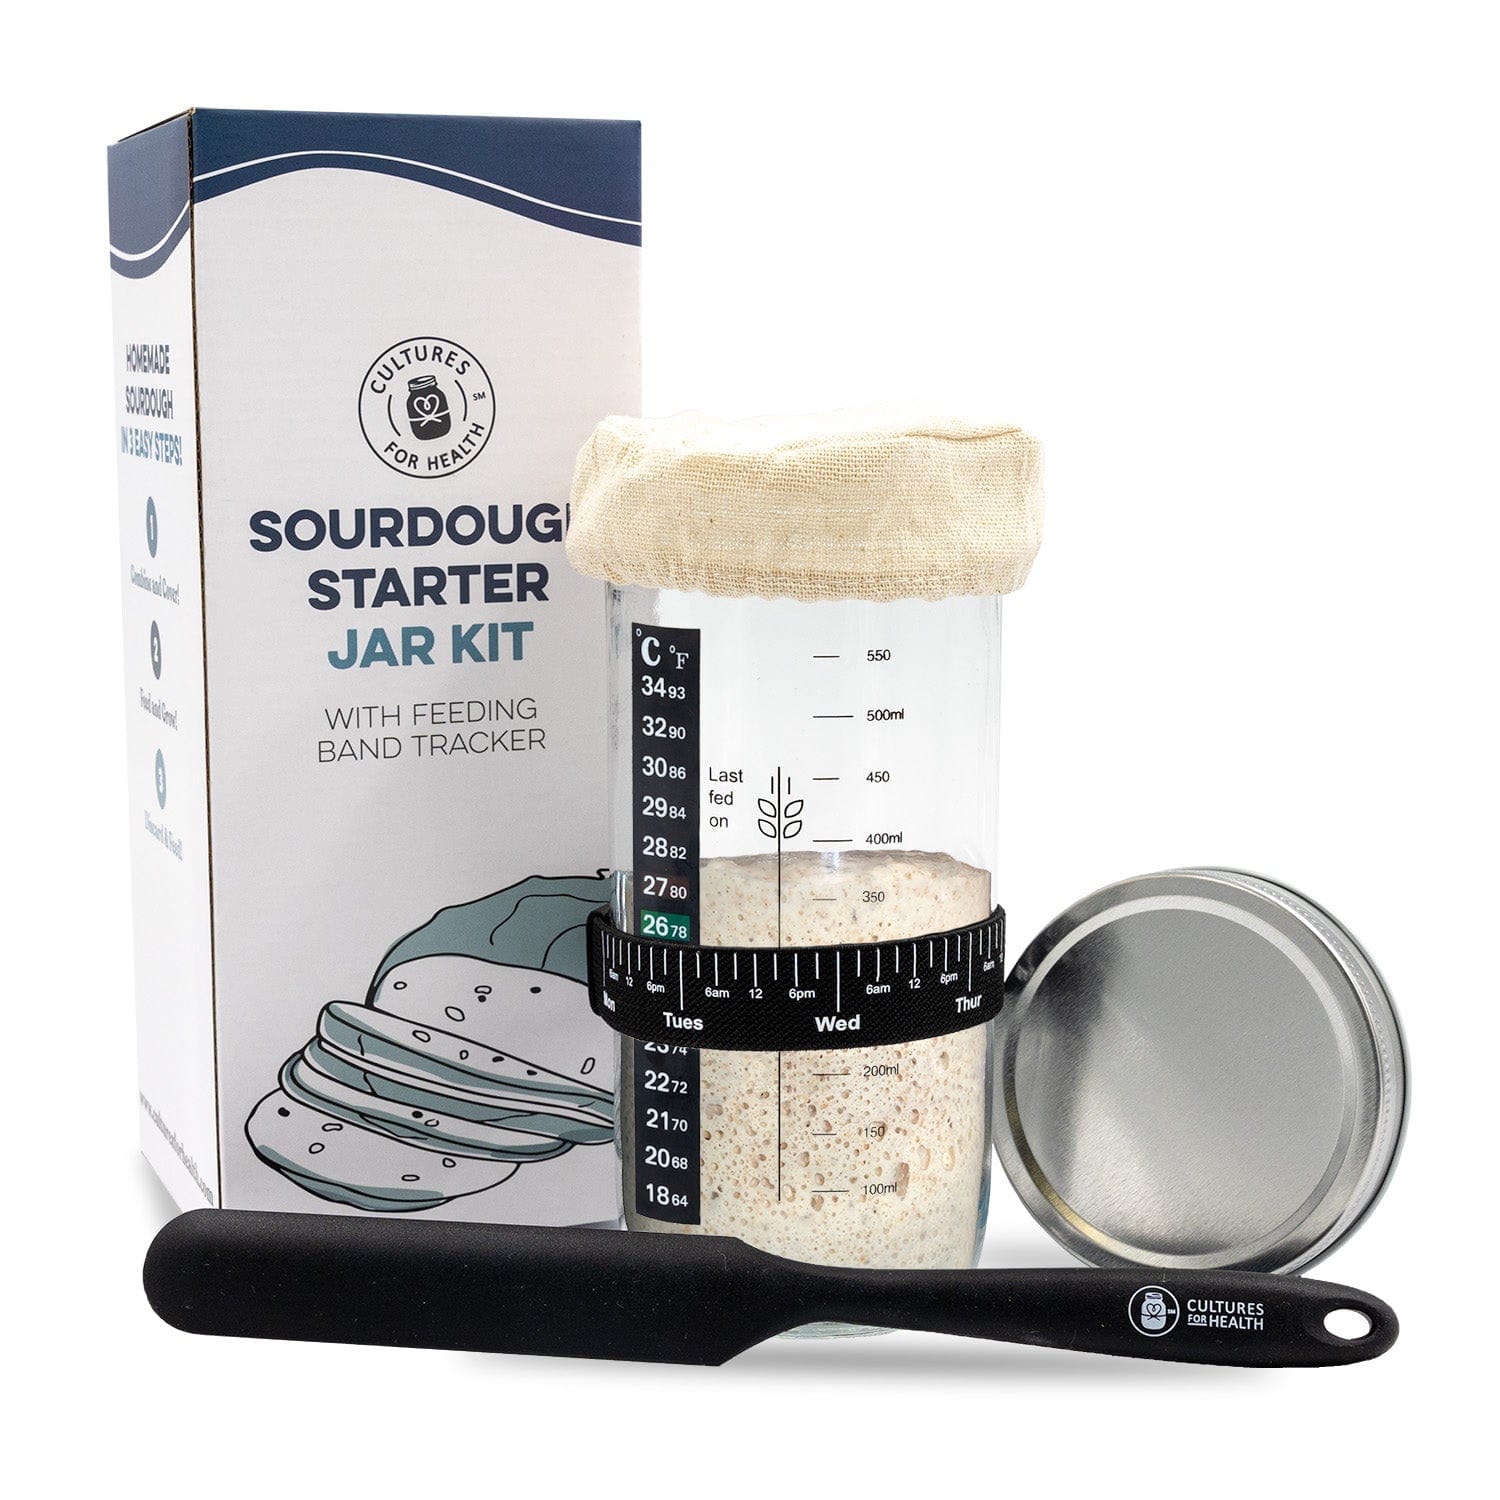
Special Note:Let us save you the time and trouble of having to go out and buy all the necessary equipment one by one. Ourartisan sourdough bread kit has everything you'll need to start your starter and bake sourdough.
Day 1: Set up the Starter
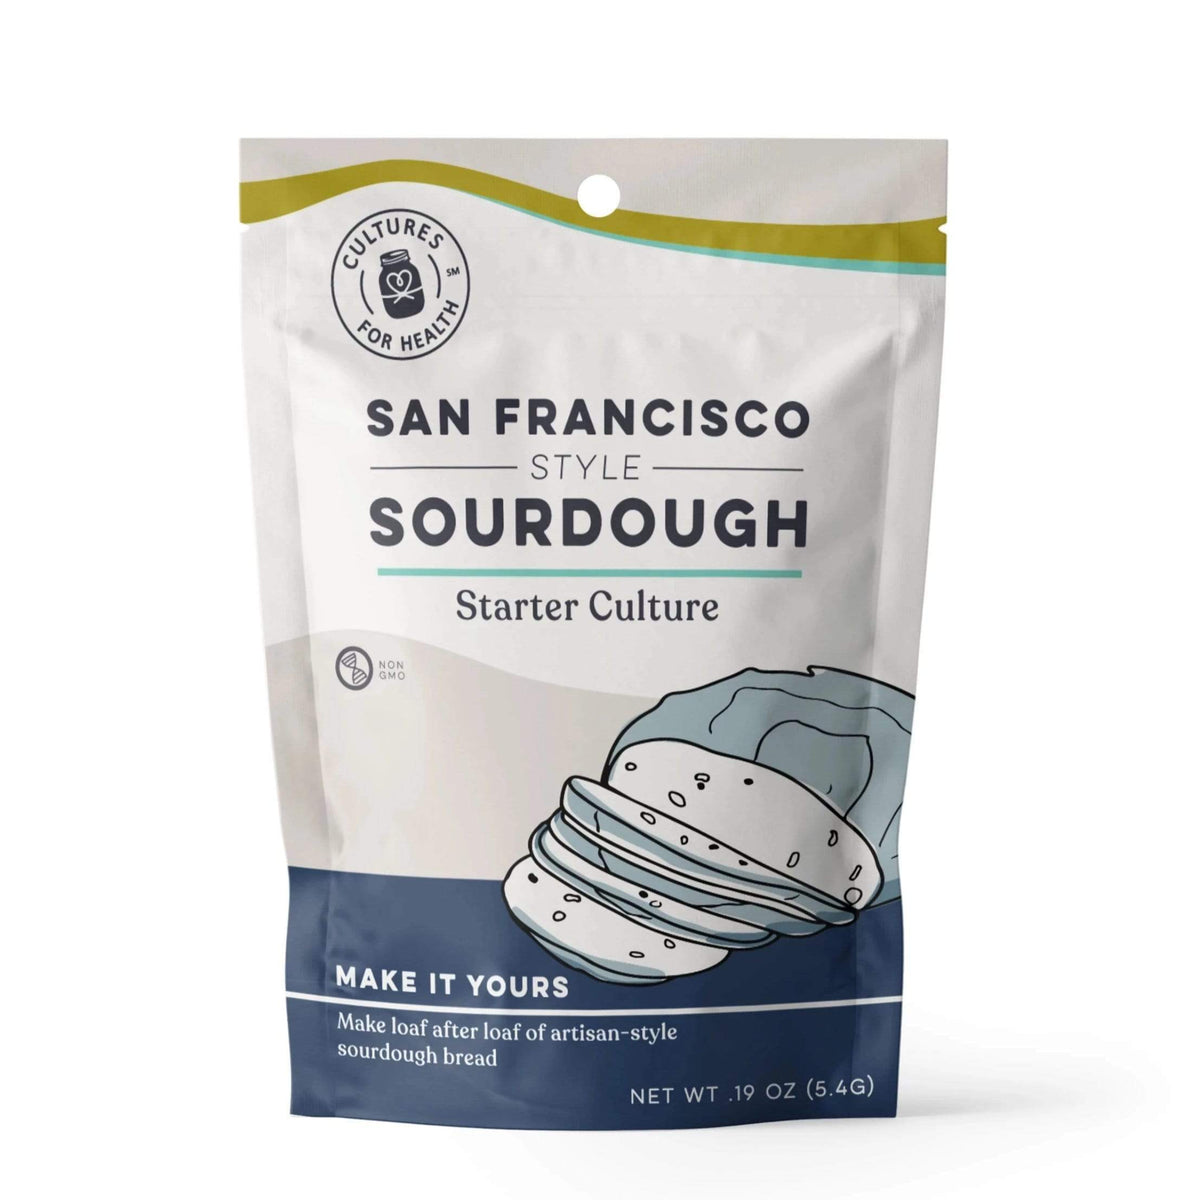
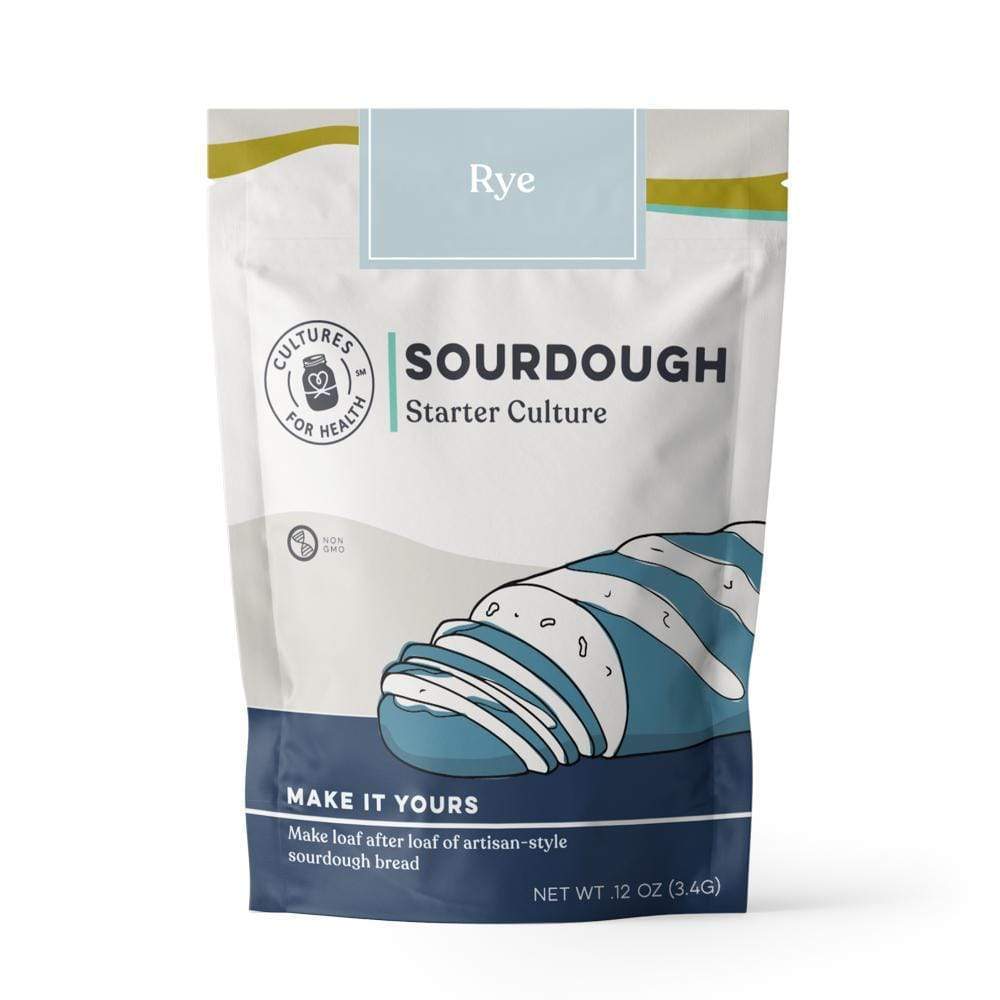
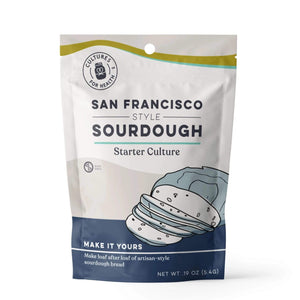
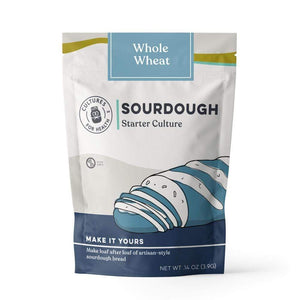
- To activate your starter, add 1 tbsp flour to the glass jar (or any ceramic or plastic bowl). The type of flour depends on which sourdough starter you're activating. The one we'll be using for this sourdough starter recipe is aSan Francisco sourdough starter. It's from the US and made with all-purpose flour. We also have aGluten-Free Sourdough Starter,Whole Wheat Sourdough Starter, andRye Sourdough Starter. So just make sure to use the same type of flour that your starter is already using.
- Next, add the sourdough starter to your jar. Then add 1 tbsp of room temperature water and mix thoroughly. Dehydrated sourdough starters are pretty much the consistency of flour (perhaps a bit coarser). Make sure that everything is thoroughly combined and that there are no clumps of flour sitting at the bottom of your jar.
Pro Tip: Stir in a decent amount of air—we’ve found that it's really helpful in activating the yeasts.
- Now that you've mixed the ingredients, cover the jar with a loose-fitting lid. As your sourdough starter comes back to life, it will expel gas. This is good, because it means the yeast and bacteria are developing and multiplying. The gas needs somewhere to go, so make sure the lid or covering isn’t too tight; use something like a coffee filter and rubber band instead. You don't want fruit flies or ants getting in there! Once your jar is covered, find a warm spot to let your sourdough starter sit for 12–24 hours.
Note: Sourdough starters perform best when kept at about70°–85°F. You can keep it as cool as 65°F, but the fermentation process will be slower; and if the temperature gets too warm, the fermentation process speeds up. So find a warm spot in your house—maybe in your kitchen, on top of the refrigerator, or on top of a shelf in your living room.
Day 2: Feed Your Sourdough Starter
- The second feeding consists of an additional 2 tbsp of flour and 2 tbsp water. Mix everything together really well and incorporate lots of air. You want a happy sourdough starter. Next, cover it up and put it back in that nice warm, safe spot for another 12–24 hours.
Pro Tip:Your starter should be the consistency of pancake batter. Add flour or water as needed to adjust the consistency.
Day 3: Look For Sign Of Growth And Feed
- After 12–24 hours, retrieve the jar and look for any sign of growth. You'll either see no activity at all in the first two days, or you'll see a bit of growth or bubbling. In any case, feed your sourdough starter with an additional ¼ cup of flour and ¼ cup of water. Stir thoroughly and incorporate lots of air. Cover it up and put it back in that nice warm, safe spot for another 12–24 hours.
Pro Tip:You’re looking for your sourdough starter to bubble between feedings. That’s the fermentation at work, bubbling away!
Day 4: Feed Again
- Usually, from feeding four, you'll probably start seeing some bubbles. That's a great sign that the yeast and bacteria are starting to create gas. If you don't see bubbles, though, don't panic!
How quickly this process goes depends on how warm your house is and how the sourdough starter is adjusting to your particular brand of flour, so be patient. It takes a few days to make your own thriving sourdough bread starter, but it's well worth the wait—we promise!
- Again, feed your sourdough starter with an additional ½ cup of flour and ½ cup of water. Stir thoroughly and incorporate lots of air. Cover it up and put it back in that nice warm, safe spot for another 12–24 hours.
Day 5: Discard, Feed, and Store
- By the end of day 4, your sourdough starter should have a very mild but pleasant sour smell to it. If so, you're doing great. If not, don't worry; this is pretty common for people in cold environments. Plus, from this point on, feedings will be slightly different. You'll first need to discard down to ½ cup starter, then feed your sourdough starter with ½ cup water and ½ cup flour. Stir thoroughly and incorporate lots of air. Cover it up and put it back in that nice warm, safe spot for another 12–24 hours.
Pro Tip:Go toculturesforhealth.com/learn to discover how you can use the discarded starters to make delicioussourdough flatbread and other recipes.
Day 6 (and Beyond): Repeat as Above
- By day 6, the starter should be bubbling and showing signs of life—lots of bubbles, rivulets, and a slightly acidic aroma. If you don't see this activity within 24 hours, repeat day 5 every 12–24 hours for the next 3–7 days. Do this until the starter has the consistency of pancake batter and is bubbling regularly within a few hours of feeding. That’s when your sourdough starter is activated and ready to use!
- Once your sourdough starter is active, feed in the usual way, removing however much starter you need for yoursourdough bread recipe, but reserving at least ¼ cup to continue maintaining. Feed the remaining starter again with ½ cup flour and ½ cup water, and let it sit out overnight.
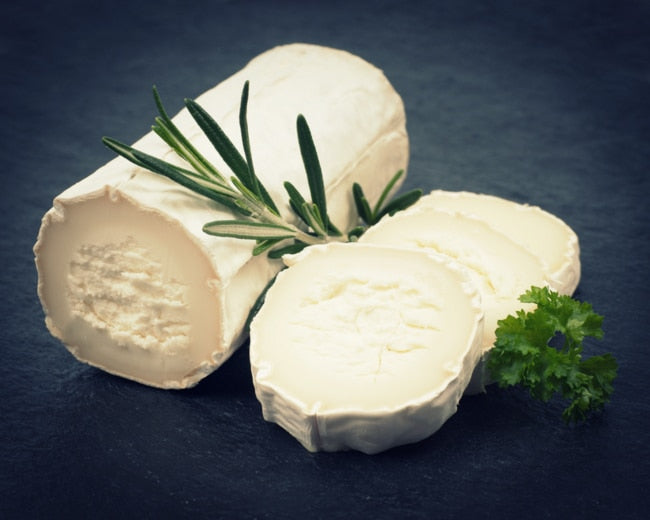
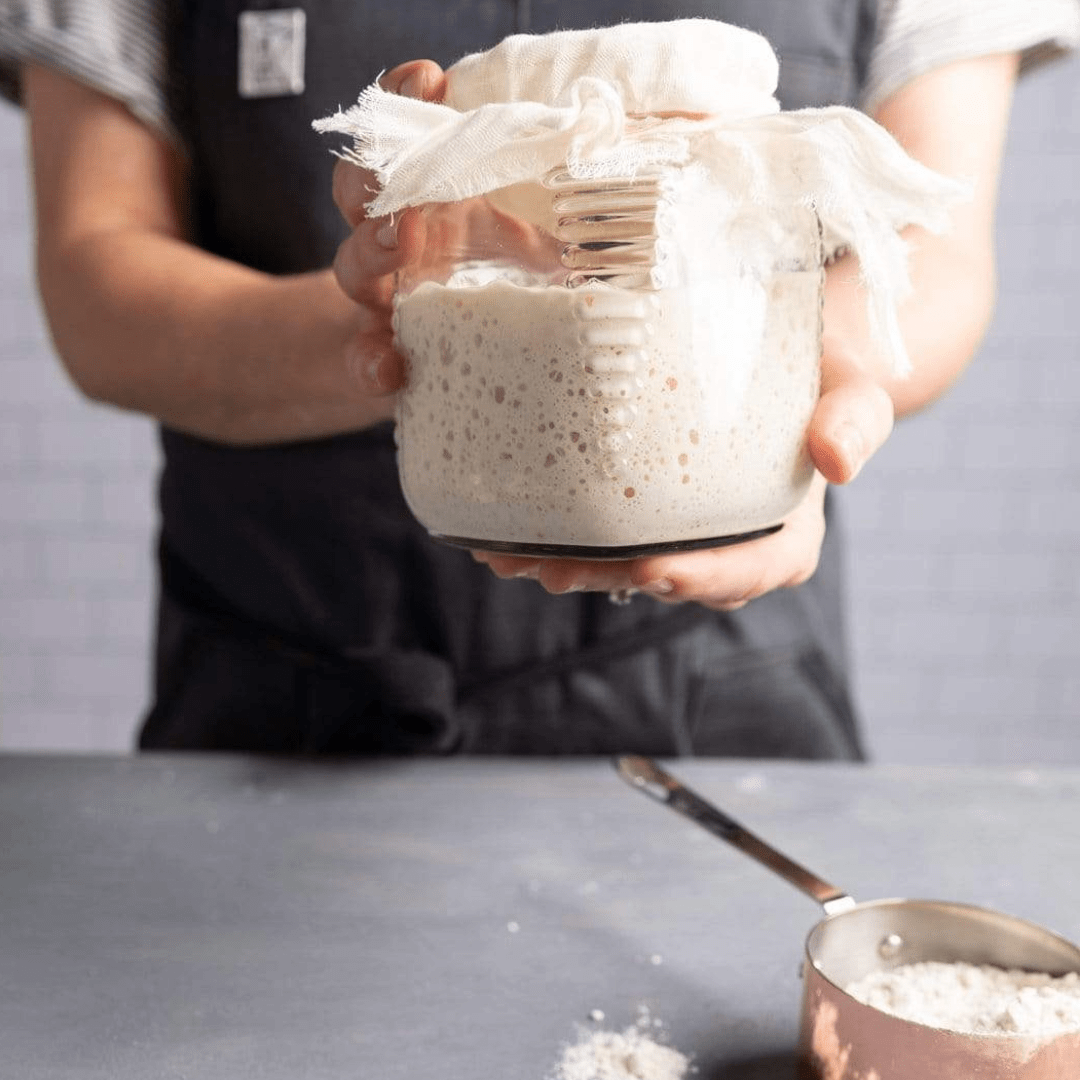
Here is a picture of our fully-activated sourdough starter:

As you can see, it has lots of bubbles and has doubled in size. This is what you're aiming for!
Dark Brown Water on Your Sourdough Starter
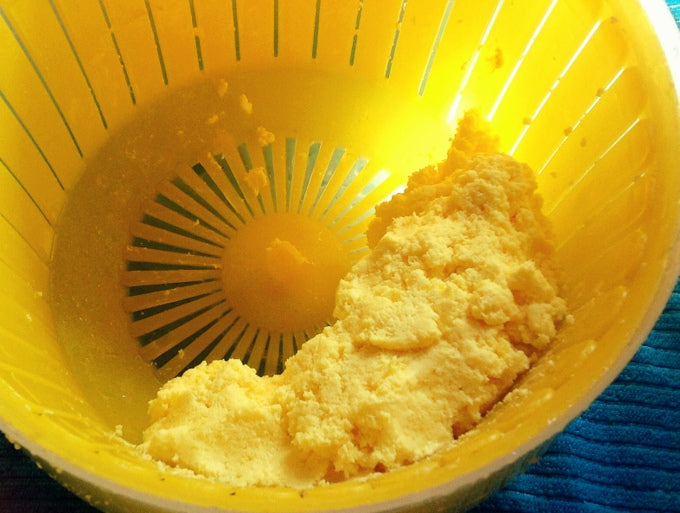
If at any point during this process, your sourdough starter developsa layer of dark liquid on the top (see image below), that's a sign that your sourdough starter is hungry, and it needs to be fed. It's just a naturally occurring form of alcohol.

Thus, if you ever get this, just pour that dark layer off, feed your sourdough starter again, and move those feedings closer together. In simple words, if you've been feeding it every 12 hours, you'd want to move it to every eight to ten hours, and that should fix the problem.
Thus, if you ever get this, just pour that dark layer off, feed your sourdough starter again, and move those feedings closer together. In simple words, if you've been feeding it every 12 hours, you'd want to move it to every eight to ten hours, and that should fix the problem.
Maintaining Your Sourdough Starter
You've got a sourdough starter! Now what? There are two ways to maintain your sourdough starter:
On Your Counter
If you're a frequent baker, storing your starter on the counter is a great idea. We suggest feeding your starter once every 24 hours using 1 part starter, 1 part water, and scant 2 parts flour. For example, ½ cup starter, ½ cup water, and a little less than 1 cup flour will keep your feedings smaller and your starter manageable. If you want to bake even more often, just double your feedings for a couple of days to build up the starter you need for more frequent baking.
In Your Fridge
If you bake less often than once or twice a week, we recommend storing your starter in the fridge. In colder temperatures, your starter goes into hibernation and slows down. So it needs less frequent feedings than if you keep it on your countertop at room temperature. Feed it every 5–7 days, just like you would if you kept it on your countertop, using 1 part starter, 1 part water, and scant 2 parts flour.
Conclusion of Our Sourdough Starter Recipe
That's how you activate a sourdough starter. As we said, making your sourdough starter generally takes about one to two weeks. This process may seem long, but it's worth being patient through it. Sourdough starters are very reliable cultures that can last for years. They're also easy to maintain and can make great loaves of bread!
Check out our website, too—we provide plenty of resources on our website to help you troubleshoot if you run into problems.